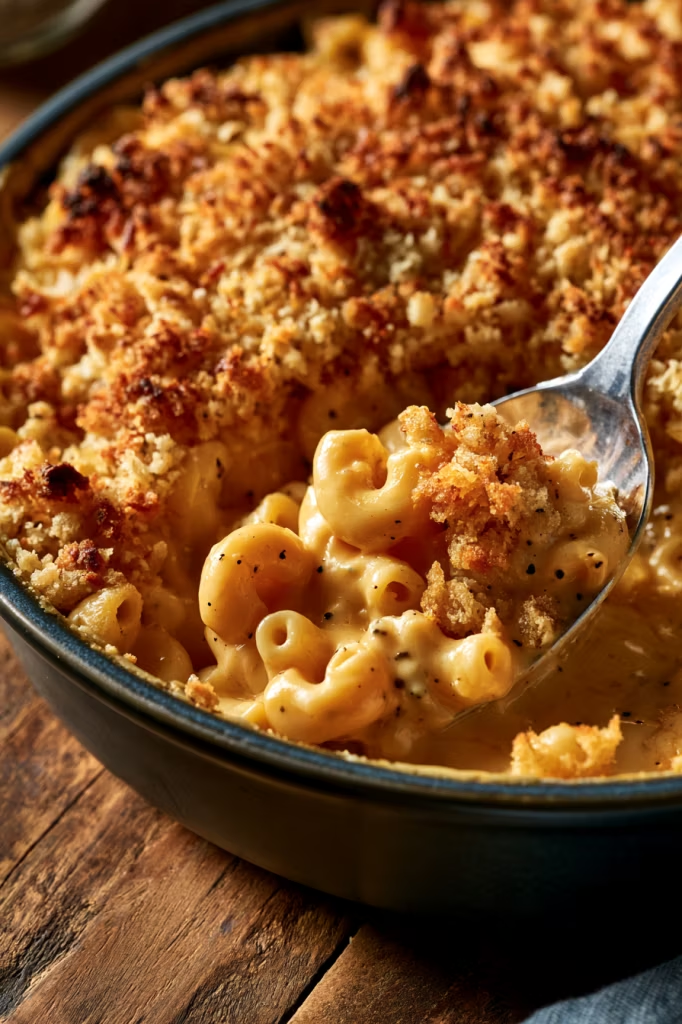
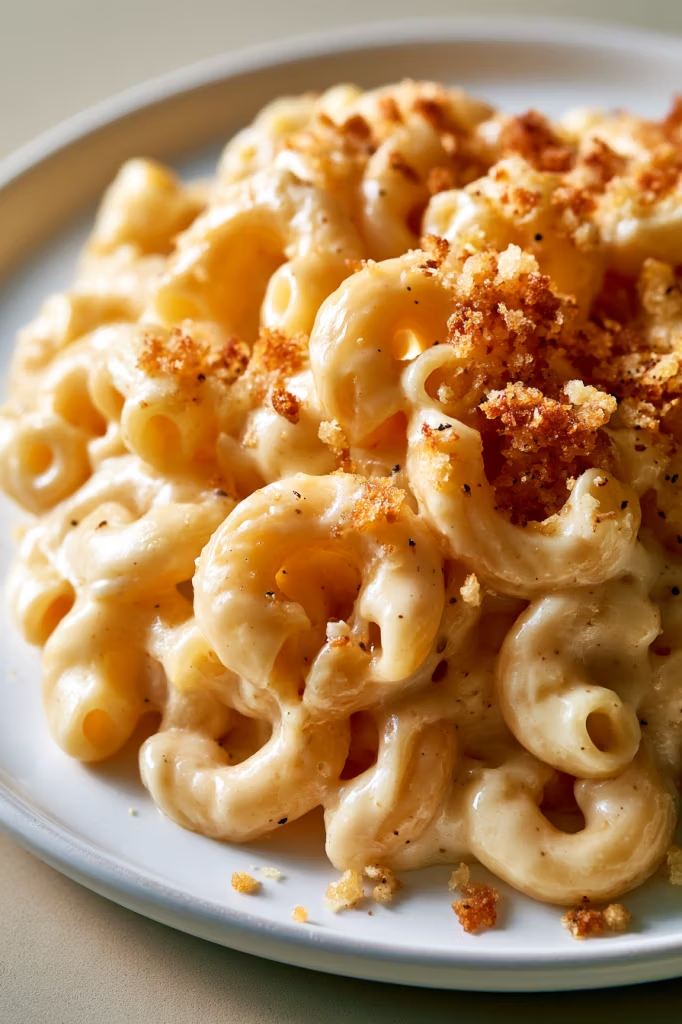
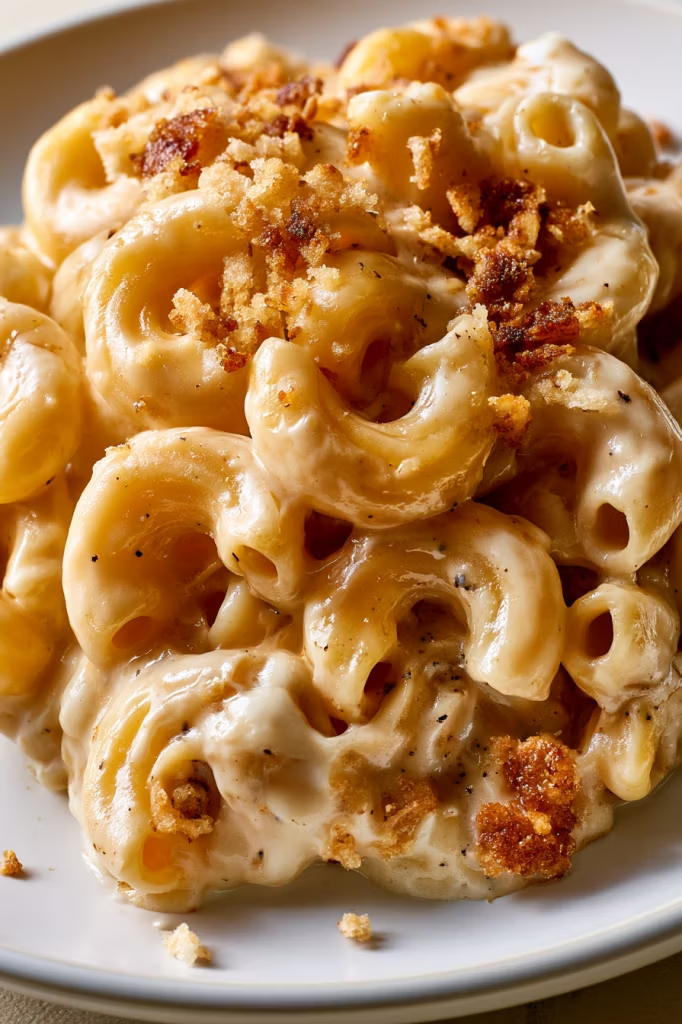
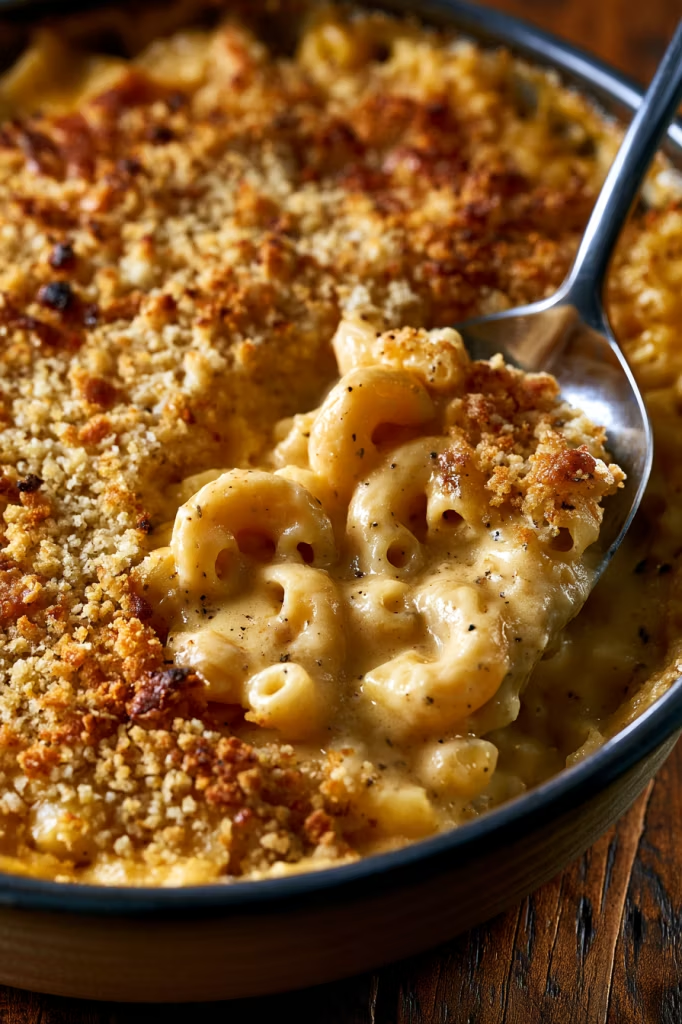
Hot from the oven with a creamy center and golden, bubbling edges, this baked macaroni and cheese is comfort food at its simplest. It starts with tender pasta and a homemade cheese sauce, then everything goes into the oven until warm, melty, and lightly browned on top.
There are plenty of ways to make mac and cheese elaborate, but sometimes I want the familiar version—the kind made with a handful of everyday ingredients and plenty of cheese. This recipe is exactly that. The sauce comes together with butter, flour, milk, and shredded cheese, and the pasta finishes cooking right in that creamy sauce as it bakes.
I especially love the contrast you get straight from the oven: creamy, cheesy pasta underneath with those slightly browned, bubbly edges around the baking dish. Serve it while it’s piping hot, and you have an easy side dish that feels right at home at a weeknight dinner, potluck, or holiday table.
Why You’ll Love This Recipe
It’s wonderfully creamy. The homemade cheese sauce coats the pasta before it ever reaches the oven, giving every bite plenty of cheesy goodness.
You only need simple ingredients. Pasta, butter, flour, milk, seasoning, and cheese make up the heart of this recipe. Nothing complicated here!
The golden top is worth waiting for. As the mac and cheese bakes, the edges begin to bubble and the surface develops that classic lightly browned finish.
You can choose your cheese. The recipe calls for 2 cups of shredded cheese and suggests sharp cheddar and Swiss, a combination that gives the sauce both richness and plenty of flavor.
It can be made ahead. Assemble the pasta and sauce, cool it, and refrigerate it until you’re ready to bake. This is especially handy when you’re preparing a bigger meal.
Let’s make mac and cheese!
Baked Macaroni and Cheese Ingredients
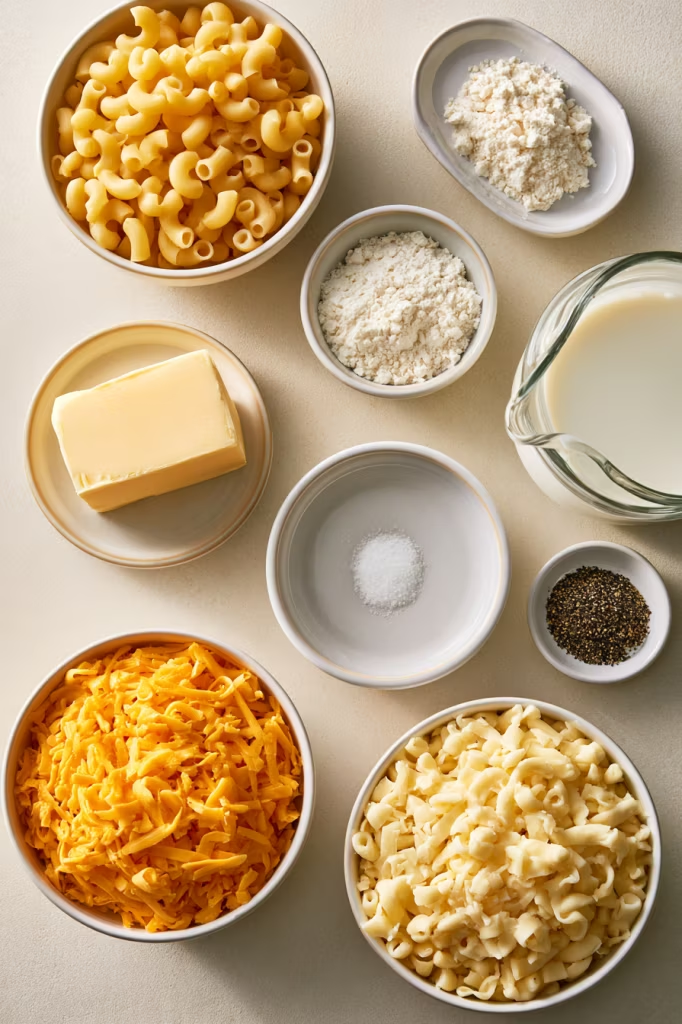
You only need a handful of simple ingredients to make this creamy baked mac and cheese:
- Elbow Macaroni – The classic pasta for mac and cheese. The little curved noodles hold onto plenty of creamy cheese sauce. Shells or cavatappi work here too.
- Butter or Margarine – This starts the base of the cheese sauce and adds richness.
- All-Purpose Flour – The flour cooks with the butter to create a roux, which helps thicken the milk into a smooth, creamy sauce.
- Milk – This gives the cheese sauce its creamy base. Use milk that isn’t skim for a richer sauce.
- Salt and Pepper – Simple seasonings are all you need to bring out the flavors of the pasta and cheese.
- Shredded Cheese – This is where all that cheesy flavor comes from! Sharp cheddar and Swiss are a great combination, but you can choose cheeses you enjoy as long as they melt well.
Step-by-Step Instructions
First, get the pasta going.
Preheat the oven to 350 degrees. Bring a pot of water to a boil, season it generously with salt, and add the pasta.
While the pasta cooks, you can make the cheese sauce. This keeps the recipe moving along quickly and means everything should be ready to come together at about the same time.
Next, make the base of the cheese sauce.
Melt the butter in a skillet or pot large enough to hold all the pasta later. Add the flour and stir it over medium heat for 1–2 minutes, just until the mixture is lightly browned.
Pour in the milk and whisk well so the sauce is smooth and free of lumps. Add the salt and pepper, then continue cooking over medium-high heat. After about 6 minutes, the sauce should thicken and begin to bubble.
Now, add the cheese.
Stir in the shredded cheese and whisk until it has completely melted into the sauce. Once everything looks smooth and creamy, turn off the heat.
This is where the sauce turns into the rich, cheesy coating that will surround all that pasta!
Add the pasta.
When the pasta is almost done but still firm, drain it and add it directly to the cheese sauce.
Give everything a good stir so the sauce works its way around every piece of pasta.
Finally, bake.
Transfer the mac and cheese to a greased 2-quart baking dish or 8×8 pan. Bake for 20–25 minutes, until the top is browned and the sauce is bubbling.
Want it especially creamy? The original recipe gives you another option: skip the full bake and put the mac and cheese under the broiler just long enough to brown the top. Keep a close eye on it while it’s there.
Then grab a spoon and serve it hot!
Expert Tips
Keep the pasta firm. Don’t wait until the pasta is completely soft before draining it. It should still be firm when it goes into the cheese sauce because it has more cooking to do in the oven.
Whisk the sauce well. Once you add the milk, whisk away any floury lumps and keep an eye on the sauce as it thickens. A smooth base gives you a much nicer cheese sauce.
Use cheese you enjoy eating. Sharp cheddar and Swiss are suggested here, but the most important thing is choosing flavorful cheese that melts well. Grating cheese from a block can also help it melt smoothly.
Pay attention to your baking dish. A shallow dish can finish more quickly than a deep casserole. The original recipe notes that a cast-iron skillet can be done in about 25 minutes, while a deeper 2-quart casserole may need around 40 minutes.
Look for bubbling edges. Baking times can vary slightly from one kitchen to another. A hot center, bubbling edges, and a lightly browned top are good signs that your mac and cheese is ready.
Recipe Variations
Once you know the basic recipe, there are plenty of ways to make a batch of mac and cheese your own without changing the original recipe card.
Try another cheese combination. Sharp cheddar and Swiss make a flavorful pairing, but you can experiment with other cheeses that melt nicely. Gouda, Monterey Jack, Gruyère, or white cheddar would all bring something a little different to the dish.
Change the pasta shape. Elbow macaroni is the classic choice, but shells and cavatappi are already included as options in the recipe. Their curves and little pockets are perfect for catching cheese sauce.
Give it a little heat. If you like spicy mac and cheese, try adding a little cayenne, hot sauce, or diced jalapeño.
Add some vegetables. Broccoli or peas can add color and make the dish feel a little more substantial.
Make it smoky. Cooked, crumbled bacon is an easy addition if you want a savory, smoky variation.
Or keep it exactly as written. Sometimes simple baked mac and cheese is exactly what you’re craving.
Storage & Reheating
Make It Ahead
This is an especially useful recipe when you want to get some of the cooking out of the way early.
Prepare the pasta and cheese sauce and combine them as directed. Let the mixture cool, cover it with plastic wrap, and refrigerate it for up to two days.
When you’re ready for mac and cheese, bake it until the middle is hot and the edges are bubbling.
Store Leftovers
Let leftover macaroni and cheese cool, then transfer it to an airtight container and keep it in the refrigerator.
The sauce will naturally become thicker as it chills, so don’t worry if yesterday’s creamy mac and cheese looks firmer when you take it out of the fridge.
Reheat
For a single serving, the microwave is the easiest option. Heat it gently until warmed through.
For a larger portion, place it in an oven-safe dish and warm it in the oven until hot. If the pasta seems a little dry after refrigeration, a small splash of milk can help bring some creaminess back as it reheats.
What to Serve with Baked Macaroni and Cheese
Mac and cheese can easily be the cozy centerpiece of dinner, but it’s just as good tucked alongside your favorite main dish.
For an easy family meal, serve it with roasted chicken, meatloaf, or barbecue and add something green on the side. Roasted broccoli, green beans, asparagus, or a crisp green salad all balance the richness of the cheese sauce nicely.
It’s also a natural fit for bigger gatherings. Serve it alongside baked ham, turkey, roast beef, roasted vegetables, green beans, or warm dinner rolls for a comforting holiday spread.
And if you’re craving something really simple? Spoon a generous helping onto a plate and enjoy it while it’s still hot and creamy. Sometimes mac and cheese doesn’t need anything else.
Recipe FAQs
1. Can I make baked mac and cheese ahead of time?
Yes, you can easily prep this mac and cheese in advance. Cook the pasta, mix it with the cheese sauce, and let everything cool. Cover and store in the refrigerator for up to 2 days. When you’re ready to bake, pop it in the oven and cook until the center is hot and the edges are bubbling.
2. Why is my cheese sauce grainy instead of creamy?
This can happen when the cheese gets too hot or the sauce is cooked too aggressively. Once the cheese is added, whisk just until it is smooth and melted, then turn off the heat. Using cheese freshly grated from a block can also help give you a smoother, creamier sauce.
3. How do I keep baked mac and cheese from drying out?
Make sure you don’t overcook the pasta before baking. Drain it when it is almost done but still firm, since it will continue to cook in the oven. Also, don’t bake it longer than needed. Once the top is browned and the edges are nice and bubbly, it’s ready to serve.
4. Can I skip baking the mac and cheese?
Yes! If you prefer your mac and cheese extra creamy, you don’t have to bake it for the full 20–25 minutes. Simply make the recipe as directed, then place it under the broiler to brown the top. Just keep a close eye on it so it doesn’t burn.
5. What’s the best way to reheat leftover mac and cheese?
You can reheat individual portions in the microwave or warm a larger amount in the oven. The pasta will soak up some of the sauce while it sits in the refrigerator, so adding a small splash of milk before reheating can help make it creamy again.
Classic Baked Macaroni and Cheese
Ingredients
- 1 1/2 cups dry elbow macaroni, shells or cavatappi
- 3 tbsp butter or margarine
- 3 tbsp all purpose flour
- 2 cups milk, not skim
- 1/2 tsp each salt and pepper
- 2 cups shredded cheese (1 cup each of sharp cheddar and Swiss works well)
Instructions
- Heat the oven to 350 degrees.
- Bring a pot of water to a boil. Season the water generously with salt, then add the pasta.
- While the pasta cooks, melt the butter in a skillet or pot that is large enough to hold the cooked pasta later.
- Stir in the flour. Cook over medium heat for 1–2 minutes, stirring, until the mixture becomes lightly browned.
- Pour in the milk and whisk thoroughly to eliminate any lumps. Add the salt and pepper.
- Continue cooking over medium-high heat until the sauce thickens and begins to bubble, about 6 minutes.
- Add the shredded cheese and whisk until completely melted and the sauce is smooth. Turn off the heat.
- Drain the pasta when it is nearly cooked but still firm. Transfer it directly to the cheese sauce.
- Stir until the pasta is evenly coated. Transfer the mixture to a greased 2-quart baking dish or an 8×8 pan.
- Bake for 20–25 minutes, until the macaroni and cheese is bubbling and browned on top.
Notes
Recipe Notes
Nutrition
Calories: 395kcal | Carbohydrates: 33g | Protein: 16g | Fat: 21g | Saturated Fat: 13g | Cholesterol: 62mg | Sodium: 514mg | Potassium: 222mg | Fiber: 1g | Sugar: 5g | Vitamin A: 685IU | Calcium: 373mg | Iron: 0.9mg