

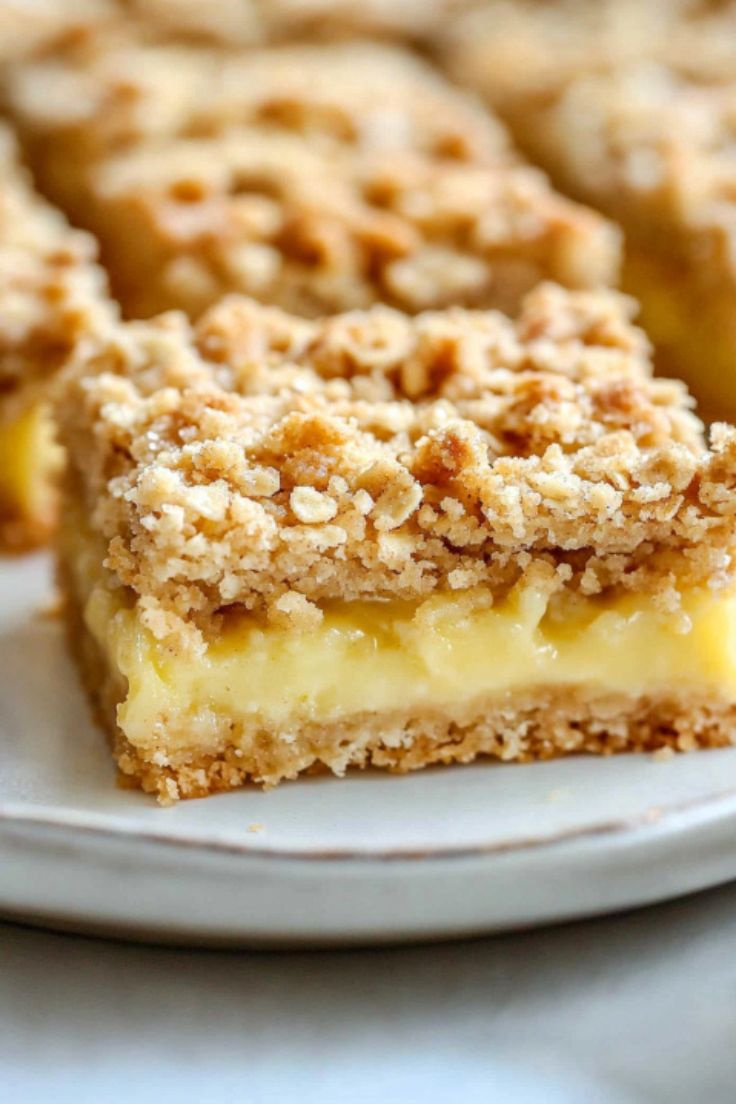
Lemon Oatmeal Crumble Bars
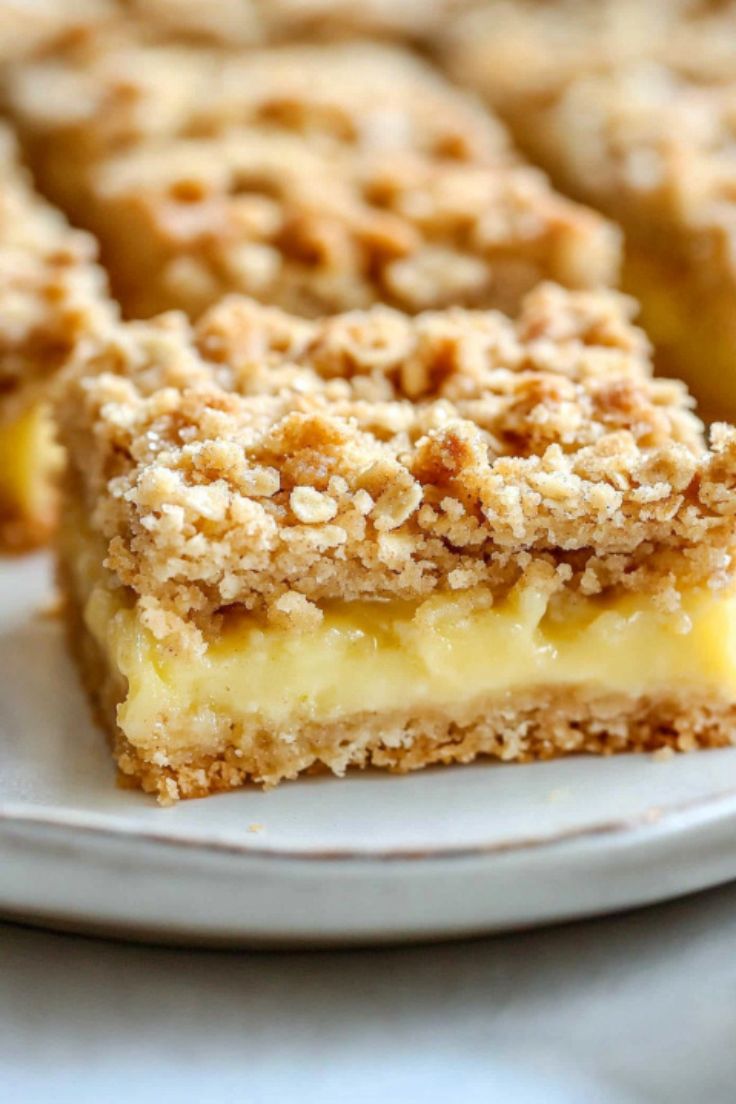
Buttery oatmeal crumble, a creamy lemon filling and a golden, crunchy topping. These Lemon Oatmeal Crumble Bars are one of those easy desserts that deliver far more than the effort you put into making them!
Think of them as a cross between a lemon bar and an oatmeal crumble. You get a lovely buttery base, a smooth filling made with sweetened condensed milk and fresh lemon, then another generous layer of crumble on top. And when they come out of the oven? That combination of sweet, tangy and buttery is seriously hard to resist.
The best part is that you don’t need to make a separate crust and topping. One simple crumble mixture does both jobs. A little goes into the pan to form the base, and the rest gets scattered over the lemon filling. Clever, isn’t it?
They’re easy enough to make on an ordinary afternoon, but pretty enough to serve when you’re having people over. Just remember to let them cool properly before slicing. I know, waiting is the hardest part!
Why You’ll Love These Lemon Oatmeal Crumble Bars
There are plenty of reasons to keep this recipe handy.
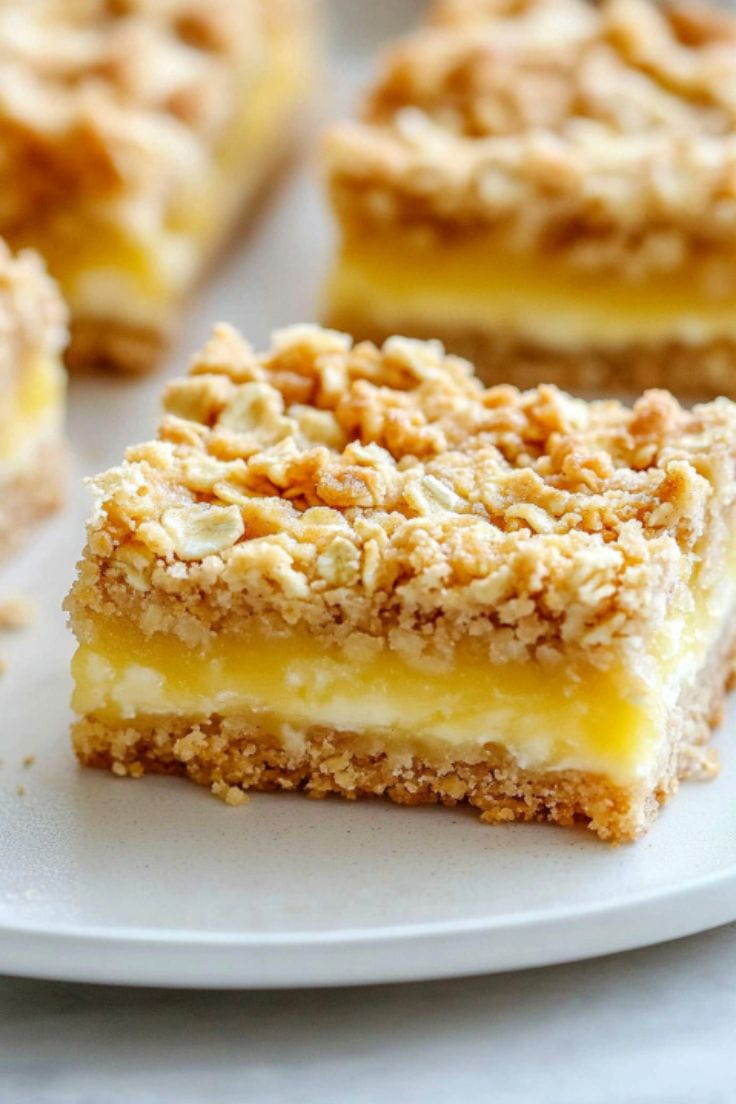
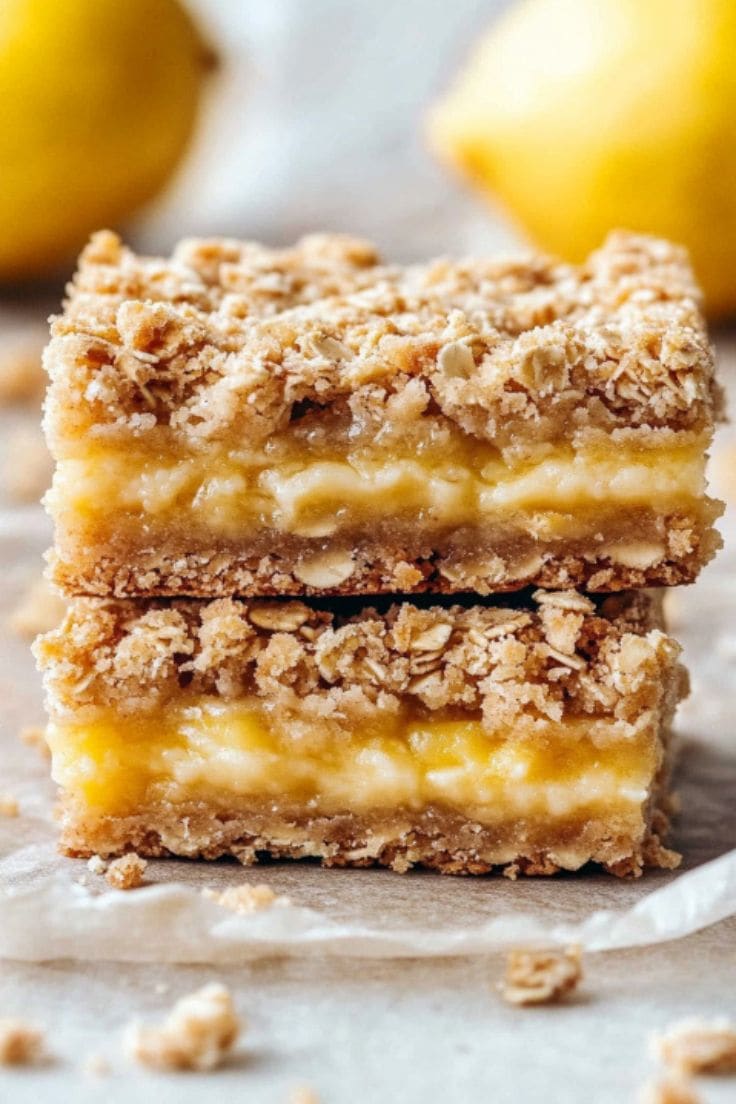
First, the texture. The oatmeal crust is buttery and slightly chewy, while the topping turns beautifully golden and crisp around the edges. In between, you’ve got a thick, creamy lemon layer that brings everything together.
Second, the filling is wonderfully simple. Sweetened condensed milk gives it that rich, smooth consistency, and fresh lemon juice and zest provide just enough citrus flavour to balance the sweetness. It’s bright and refreshing without being overwhelmingly sour.
And here’s another thing I love: the same crumble mixture makes the base and the topping. No extra bowls, no complicated pastry-making, and certainly no fussing around with multiple components.
Just mix, press, fill, crumble and bake.
These bars are also excellent for making ahead. Slice them into squares and keep them in the fridge for an easy dessert whenever you need one.
Ingredients You’ll Need
Nothing unusual here! Just everyday baking ingredients and a couple of fresh lemons.
For the oatmeal crust and crumble topping
- Unsalted butter (7 tablespoons / 99g) – Soften it to room temperature before starting. This makes it much easier to combine with the brown sugar and gives the crumble its lovely buttery flavour.
- Brown sugar (3/4 cup / 150g) – Adds sweetness, moisture and a subtle caramel flavour. Light or dark brown sugar both work.
- Vanilla extract (1 teaspoon) – A little vanilla rounds out the flavour of the buttery crumble.
- All-purpose flour (1 cup / 125g) – Provides the structure for the crust and topping. Spoon it into your measuring cup and level it off rather than packing it in.
- Baking powder (1 teaspoon) – Gives the crumble a little lift.
- Salt (1/4 teaspoon) – Don’t skip it! It balances the sweetness and brings out the buttery flavour.
- Old-fashioned oats (1 cup / 85g) – These add that lovely chewy texture. Quick oats can also be used, but avoid instant oats.
For the creamy lemon filling
- Full-fat sweetened condensed milk (1 can / 14 ounces) – This is what makes the filling rich, thick and creamy. Make sure you use sweetened condensed milk, not evaporated milk. They’re not interchangeable here.
- Fresh lemon juice (6 tablespoons / 90ml) – Approximately 2 lemons, depending on their size. Freshly squeezed is best.
- Lemon zest (1 tablespoon) – About 1 lemon. This is where you’ll get that lovely fragrant lemon flavour.
How to Make Lemon Oatmeal Crumble Bars
These bars come together in a few straightforward steps. We’ll bake the base first, add the lemon filling, then finish with the remaining crumble.
Step 1: Prepare the oven and pan
- Preheat your oven to 350°F (177°C).
- Line an 8-inch square baking pan with parchment paper, leaving a little overhang on the sides. This small step makes a big difference when it’s time to remove the bars from the pan.
Step 2: Make the oatmeal crumble
- In a large mixing bowl, beat the softened butter and brown sugar together using a handheld mixer or a stand mixer fitted with the paddle attachment.
- Mix on medium-high speed for about 1 minute, until well combined. Scrape down the sides of the bowl, add the vanilla extract and mix again for about 30 seconds.
- Now add the flour, baking powder, salt and oats.
- Mix until everything is combined. The mixture should look crumbly and slightly sandy, rather than forming a smooth cookie dough. That’s exactly what we’re after!
- You should end up with approximately 3 to 3 1/2 cups of crumble mixture.
Step 3: Bake the crust
- Transfer slightly more than half of the crumble mixture into your prepared baking pan.
- Press it firmly and evenly across the bottom using your fingers or the back of a spoon. You want a compact base that will hold the lemon filling without falling apart.
- Bake for 12 minutes, then remove the pan from the oven.
- Don’t worry if the crust isn’t fully golden at this point. It will go back into the oven shortly.
Step 4: Make the lemon filling
- While the crust is baking, prepare the filling.
- In a medium bowl, whisk together the sweetened condensed milk, fresh lemon juice and lemon zest until smooth and creamy.
- You’ll notice the mixture thickens as the lemon juice combines with the condensed milk. That’s exactly what should happen!
- No need for complicated techniques here. Just whisk until everything is evenly combined.
Step 5: Assemble the bars
- Pour the lemon mixture over the warm, pre-baked crust.
- Spread it gently into an even layer, making sure it reaches the edges.
- Now take the remaining oatmeal crumble and scatter it over the top. Try to distribute it fairly evenly so every bar gets a little of that buttery topping.
- You don’t need to press the topping down. Let those lovely crumbs sit loosely over the filling.
Step 6: Bake until golden
- Return the pan to the oven and bake for another 22–25 minutes.
- You’re looking for lightly golden edges and a centre that looks set.
- Keep an eye on them towards the end of baking. You don’t want to overdo it because the lemon layer should remain creamy, while the crumble develops a lovely golden finish.
Step 7: Cool, slice and enjoy!
- Remove the pan from the oven and place it on a wire rack.
- Now comes the difficult bit: leave the bars alone until they’ve cooled completely!
- The filling needs time to firm up. If you cut into them while they’re still warm, the squares won’t hold their shape as neatly.
- Once completely cool, lift the whole slab out using the parchment paper overhang and cut into 16 squares.
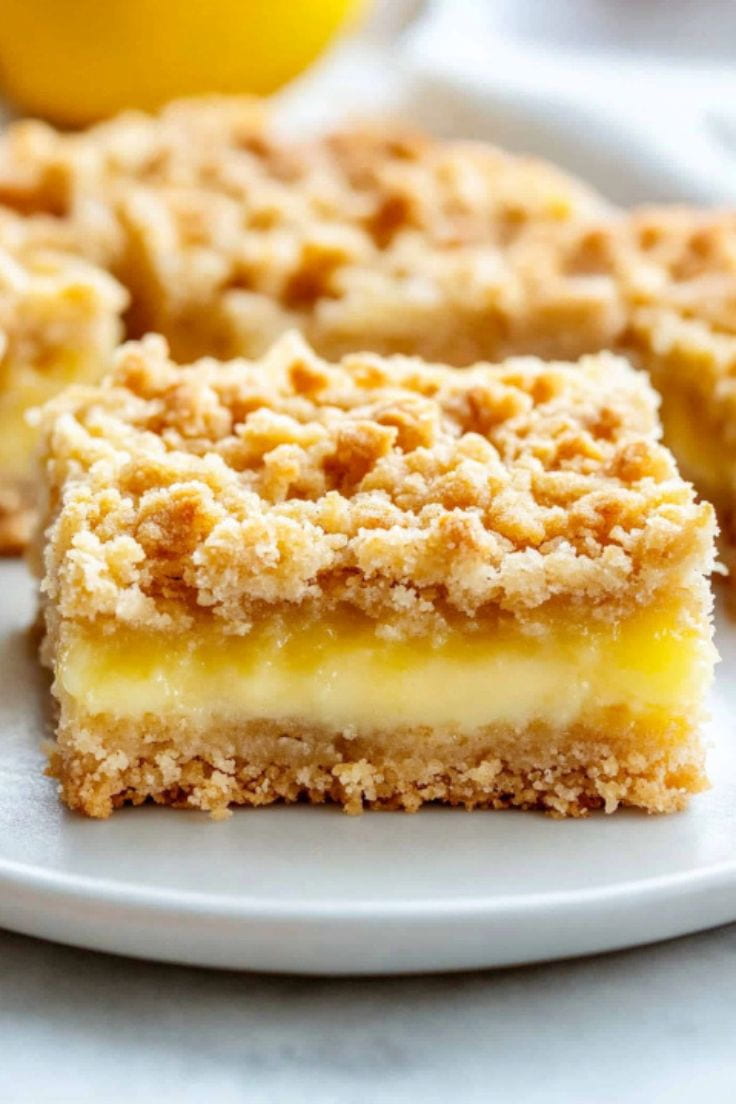
- And there you have it. Buttery, chewy, creamy and wonderfully lemony!
My Tips for Perfect Lemon Crumble Bars
Use full-fat sweetened condensed milk.
This is important for getting the right consistency. Evaporated milk is not the same thing, and low-fat or fat-free versions won’t give you the same creamy result.
Fresh lemons really make a difference.
You’ll need both the juice and the zest, so grab fresh lemons rather than relying on bottled juice. The zest adds a lovely fragrant citrus flavour that you simply don’t want to miss.
Don’t skip the parchment paper.
The lemon filling is soft, especially before the bars have cooled. Leaving an overhang makes it much easier to lift the entire slab out of the pan without damaging the edges.
Let them cool completely before cutting.
I know it’s tempting, but patience pays off here. The filling needs time to set, and you’ll get much neater squares if you wait.
Want to make a bigger batch?
Easy! Double the ingredients and use a 9 x 13-inch baking pan. For the larger batch, bake the crust for approximately 18 minutes, then bake the assembled bars for about 35 minutes, or until the filling is set.
Recipe Variations
Once you’ve made the original version, there are a few easy ways to change things up.
- Make them gluten-free: Replace the all-purpose flour with a 1:1 gluten-free baking flour blend. Use certified gluten-free oats if needed.
- Add some chocolate: White chocolate chips are particularly lovely with the lemon filling. Mix them into the crumble for little sweet surprises.
- Add a little crunch: Toasted pecans make a delicious addition. You could also try coconut or mini chocolate chips.
- Change the citrus: Swap the lemon zest for lime or orange zest for a different flavour. Keep the same creamy filling method.
- Use quick oats: Old-fashioned oats give the best chewy texture, but quick oats will work in a pinch. Just expect a slightly softer crumble.
How to Store Lemon Oatmeal Crumble Bars
These bars are great for making ahead, which is always a bonus when you’re preparing desserts for a gathering.
At room temperature: Store in an airtight container for up to 2 days.
In the refrigerator: Keep them in an airtight container for up to 1 week. I actually love serving them chilled because the filling becomes a little firmer.
In the freezer: These bars freeze beautifully for up to 3 months. Slice them first, then place them in a freezer-safe container with parchment paper between the layers to prevent sticking.
To serve, thaw overnight in the refrigerator and allow them to come to room temperature before enjoying.
No reheating needed! They’re delicious chilled, at room temperature or slightly softened after sitting out for a few minutes.
How to Serve Them
Honestly, these bars are lovely just as they are.
Serve one alongside a cup of coffee or tea for an afternoon treat, or bring out a platter after dinner when you want something sweet without making an elaborate dessert.
For a simple finishing touch, dust the tops with a little powdered sugar just before serving.
You can also serve them straight from the fridge for a firmer texture, or leave them at room temperature for a softer, creamier filling.
They’re perfect for holiday gatherings, bake sales, family get-togethers or simply keeping in the fridge for when that sweet craving strikes.
Lemon Oatmeal Crumble Bars – Frequently Asked Questions
Can I use quick oats instead of old-fashioned oats?
Yes! Old-fashioned rolled oats are my first choice because they give the crumble a chewier texture. Quick oats will work too, but the finished bars will be a little softer. Just make sure you don’t use instant oats.
Can I prepare the crust and crumble topping ahead of time?
Absolutely. You can prepare the crumble mixture a day ahead and store it in an airtight container at room temperature. When you’re ready to bake, press the base into the pan and continue with the recipe.
Can I replace the sweetened condensed milk?
It’s best not to. Sweetened condensed milk is responsible for the thick, creamy texture of the lemon filling. Evaporated milk is not a direct substitute, and using it with added sugar won’t necessarily give you the same result.
How do I stop the bars from sticking to the pan?
Line your baking pan with parchment paper and leave some overhang on the sides. Once the bars have cooled completely, you can lift them straight out of the pan. Much easier than trying to cut and remove them one at a time!
Can I freeze these lemon bars?
Yes! They can be frozen for up to 3 months. Make sure they’re completely cool before slicing, then store the squares in a freezer-safe container with parchment paper between the layers. Thaw overnight in the refrigerator before serving.
Why do I need to cool the bars completely before slicing?
The lemon filling is still soft when it comes out of the oven. Cooling gives it time to firm up, which means the bars will hold their shape and you’ll get much cleaner slices.
Lemon Oatmeal Crumble Bars
Notes
Ingredients
For the Crust & Topping:
- 7 tablespoons (99g) unsalted butter, softened to room temperature
- 3/4 cup (150g) light or dark brown sugar, packed
- 1 teaspoon vanilla extract
- 1 cup (125g) all-purpose flour (spooned & leveled)
- 1 teaspoon baking powder
- 1/4 teaspoon salt
- 1 cup (85g) old-fashioned oats or quick oats (not instant)
For the Lemon Filling:
- 1 can (14 ounces) full-fat sweetened condensed milk
- 6 tablespoons (90ml) lemon juice (from about 2 lemons)
- 1 tablespoon lemon zest (from about 1 lemon)
Instructions:
- Prepare the oven and pan: Preheat the oven to 350°F (177°C). Line an 8-inch square baking pan with parchment paper for easy removal of the bars.
- Make the crust and topping:
- Using a handheld or stand mixer with the paddle attachment, beat the softened butter and brown sugar on medium-high speed until fully combined (about 1 minute).
- Scrape down the sides of the bowl, then add the vanilla extract. Beat again on medium-high for 30 seconds until incorporated.
- Add the flour, baking powder, salt, and oats. Mix on medium speed until combined. The mixture should be crumbly and dry, forming between 3–3.5 cups of mixture in total.
- Form the crust:
- Press slightly more than half of the crumble mixture into the bottom of the prepared pan to form the crust. (You want slightly more for the crust than for the topping.)
- Bake for 12 minutes, then remove from the oven.
- Make the lemon filling:
- In a medium bowl, whisk together the sweetened condensed milk, lemon juice, and lemon zest until smooth and thick.
- Assemble the bars:
- Pour the lemon filling over the pre-baked crust while it’s still hot, and spread it evenly.
- Sprinkle the remaining crumble mixture on top of the lemon filling.
- Bake:
- Return the bars to the oven and bake for an additional 22–25 minutes or until the edges are lightly golden and the center is set. Be careful not to over-bake.
- Cool and cut:
- Once done, remove from the oven and let the pan cool completely on a wire rack.
- Once cooled, use the parchment paper to lift the bars out of the pan. Slice into squares.
- Storage:
- Store the leftover bars at room temperature for up to 2 days or refrigerate for up to 1 week.
Freezing Instructions:
- To freeze, place cut bars in a single layer, separated by parchment paper, in a freezer-safe container. They will keep for up to 3 months. To enjoy, thaw overnight in the refrigerator and bring to room temperature before serving.
- Sweetened Condensed Milk: Make sure you’re using full-fat sweetened condensed milk (not evaporated milk) for the filling to set properly. Fat-free versions won’t work.
- Doubling the Recipe: You can easily double the recipe. Simply double all the ingredients and bake in a 9x13-inch pan. Increase the crust pre-bake time to 18 minutes, and bake the filled bars for 35 minutes, or until set.
Calories: 210 kcal | Carbohydrates: 32.3 g | Protein: 3.7 g | Fat: 7.7 g | Saturated Fat: 3.8 g | Cholesterol: 31 mg | Sodium: 133 mg | Potassium: 135 mg | Fiber: 2.4 g | Sugar: 18.1 g | Vitamin A: 145 IU | Vitamin C: 6 mg | Calcium: 23 mg | Iron: 0.6 mg