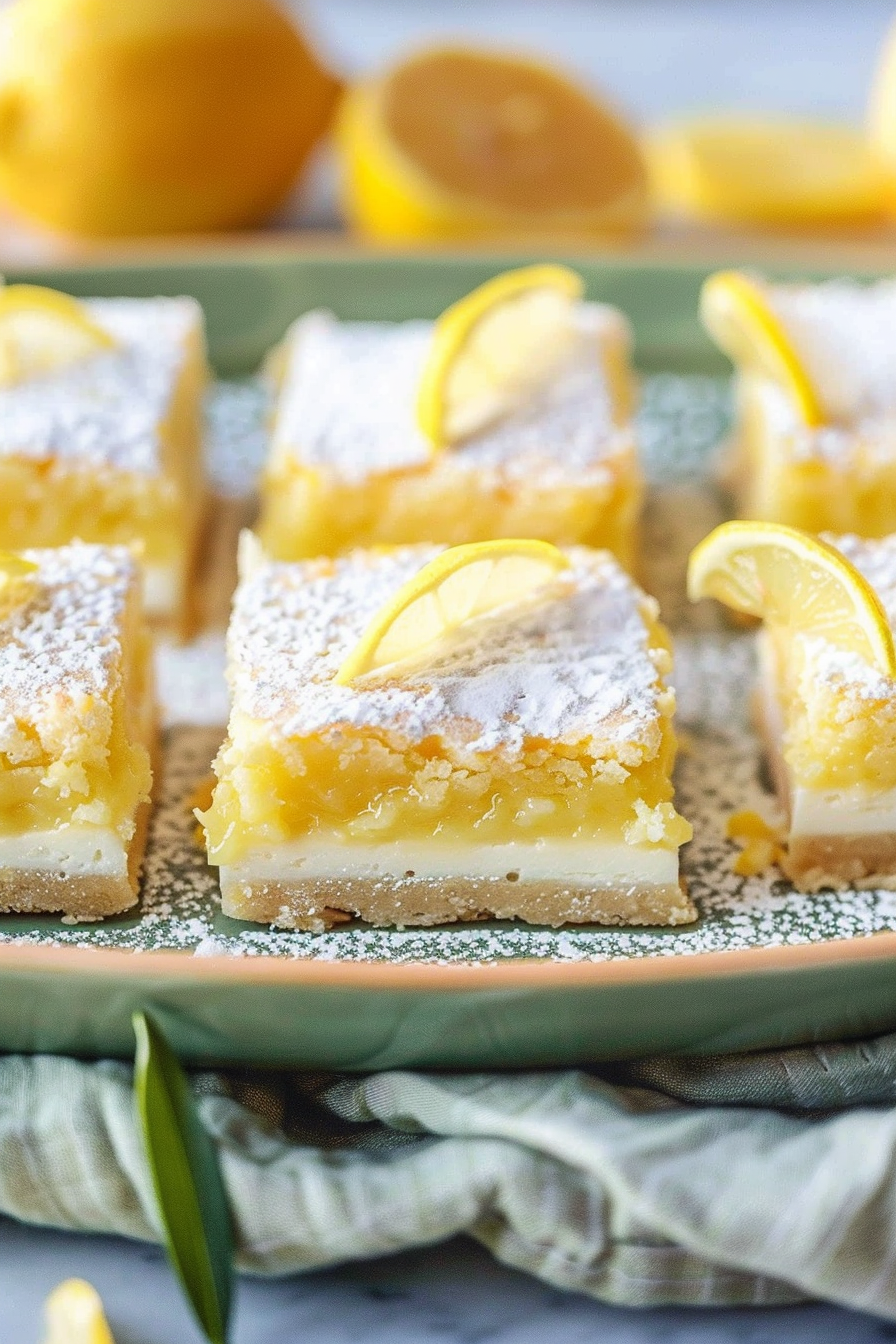


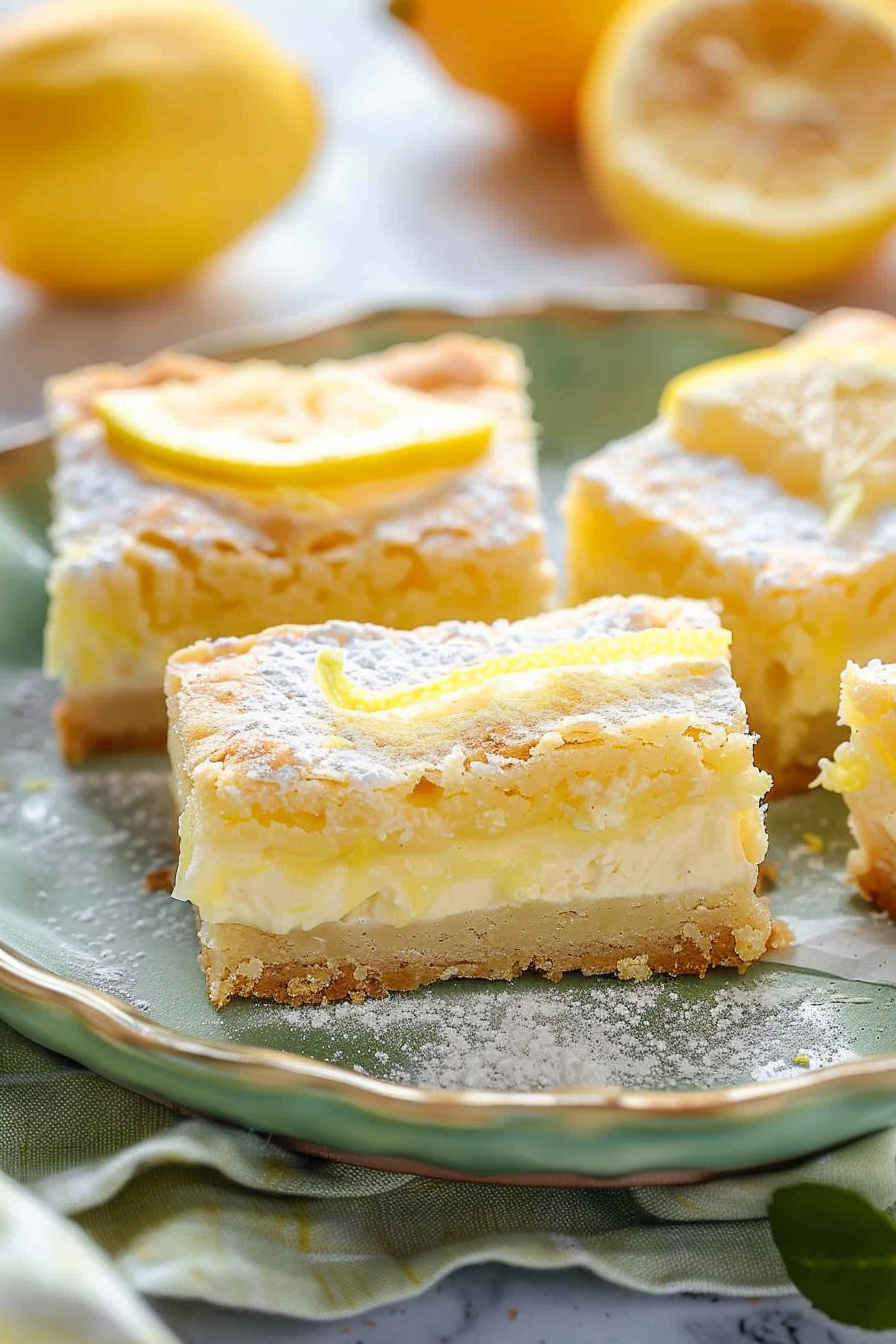
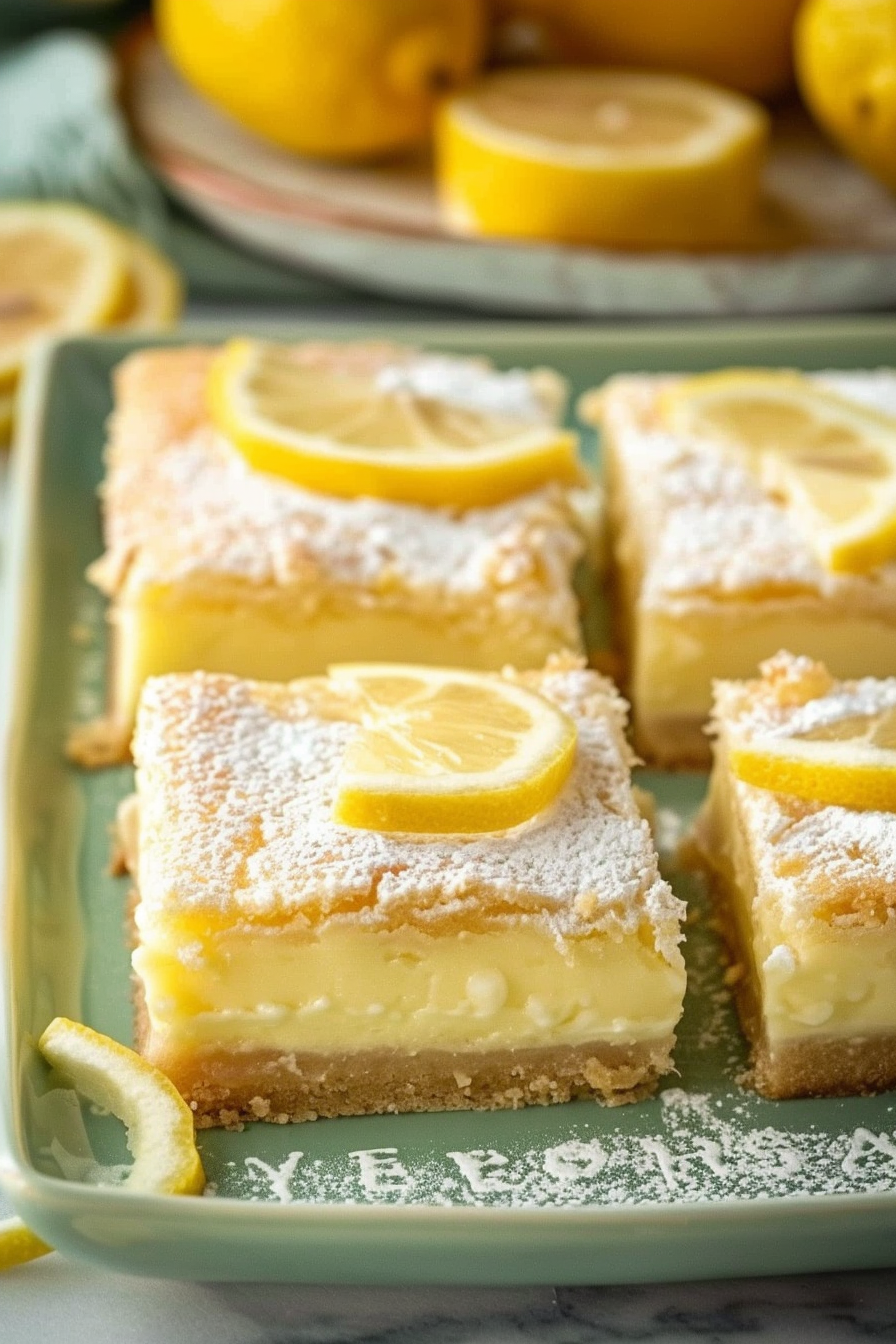
These cream cheese lemon bars are one of those recipes you’ll find yourself coming back to again and again—simple, reliable, and always a hit.
They remind me of those classic homemade desserts that don’t need anything fancy to shine. The combination of a buttery crust and a smooth, tangy lemon filling makes every bite perfectly balanced.
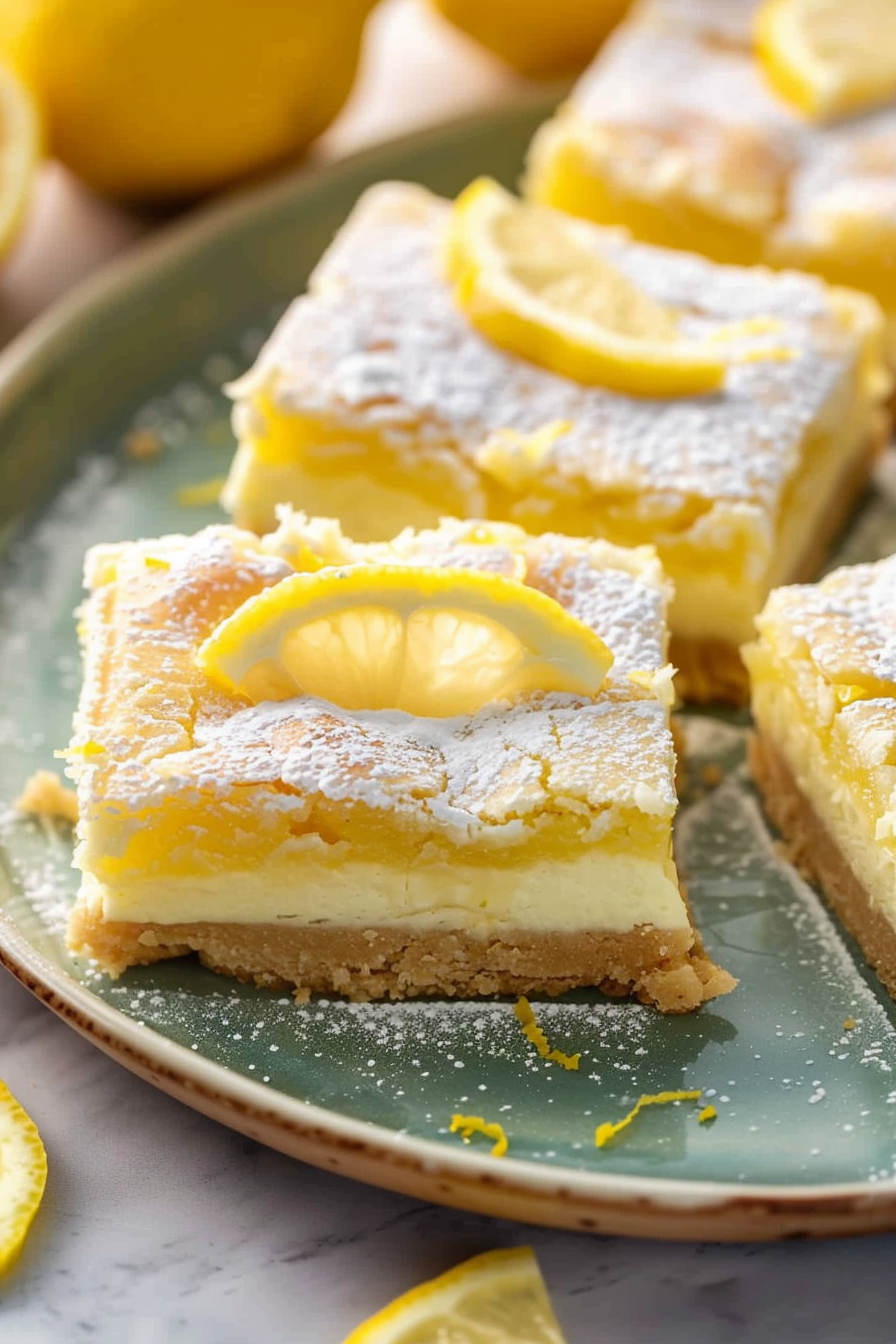
It’s the kind of dessert that looks humble but delivers big on flavor, making it just as perfect for a casual weeknight as it is for sharing with friends and family.
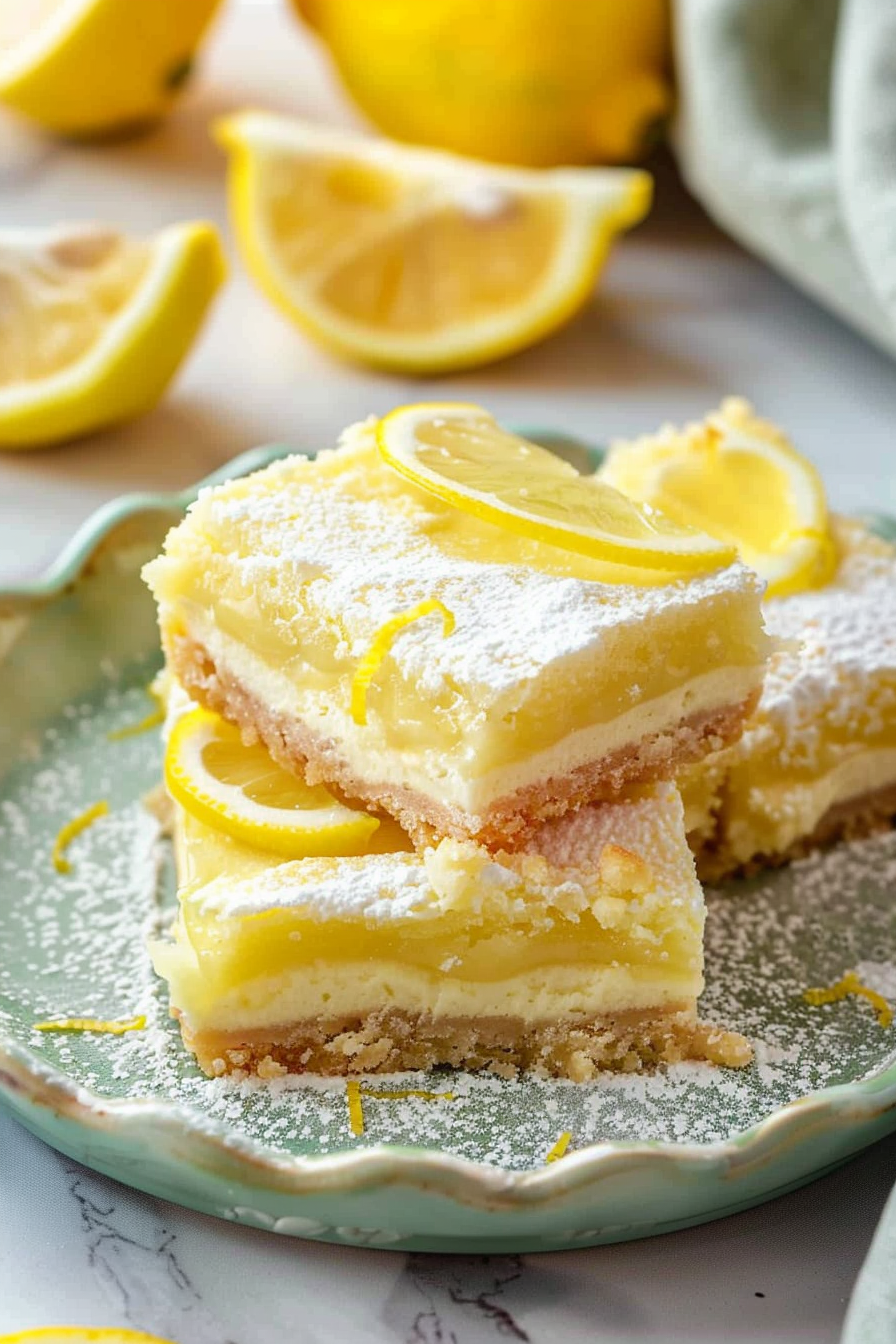
What makes these bars especially great is how easy they are to put together. With just a handful of basic ingredients and minimal prep time, you can have a dessert ready to chill in no time.
Whether you’re making them for a gathering or just because you’re craving something sweet and refreshing, they never disappoint.
For the Crust
- All-Purpose Flour – forms the base of the crust and gives it structure.
- Granulated Sugar – adds a light sweetness to balance the buttery base.
- Salt – enhances the overall flavor and keeps the crust from tasting flat.
- Butter – cold butter creates that tender, slightly crumbly texture everyone loves.
For the Filling
- Cream Cheese – makes the filling extra smooth, rich, and slightly tangy.
- Granulated Sugar – sweetens the filling and balances the tart lemon flavor.
- Flour – helps the filling set properly as it bakes.
- Fresh-Squeezed Lemon Juice – brings the bright, fresh citrus flavor that defines these bars.
- Powdered Sugar – adds a soft sweetness and contributes to the silky texture.
- Eggs – act as the binder, giving the filling its structure and creamy consistency.
- Vanilla – rounds out the flavors with a subtle warmth.
- Extra Powdered Sugar (for topping) – a light dusting on top adds the perfect finishing touch.
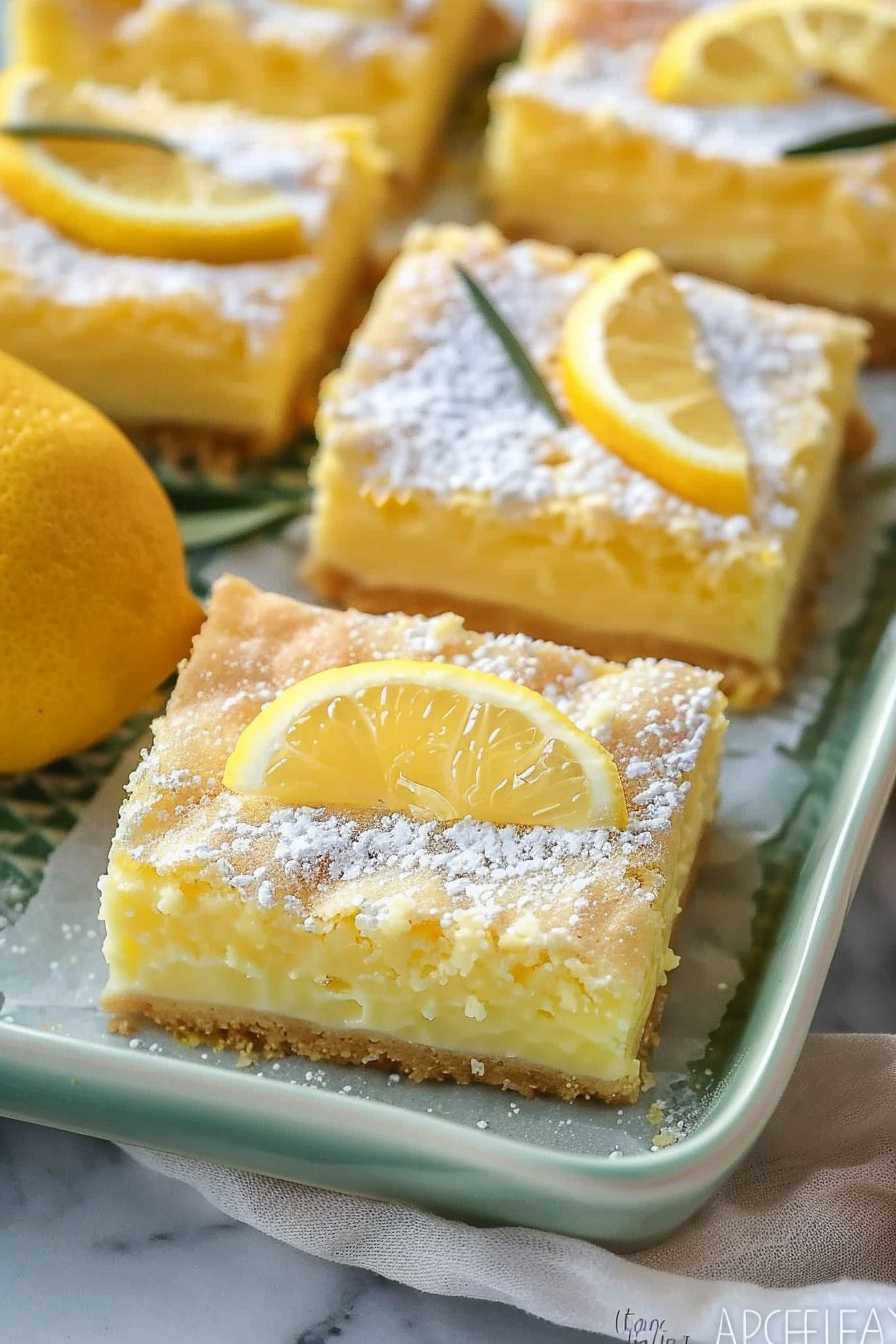
The Best Cream Cheese Lemon Bars
Notes
Ingredients
For the Crust- 2 cups all-purpose flour
- ½ cup granulated sugar
- ½ teaspoon salt
- 1 cup (2 sticks) butter, chilled and cut into small cubes
- 8 ounces cream cheese, softened
- 2 cups granulated sugar
- ¼ cup flour
- ¾ cups fresh-squeezed lemon juice
- ⅓ cup powdered sugar, plus more for topping
- 6 large eggs
- 1 teaspoon vanilla
Instructions
- Preheat oven to 350 degrees and line a 9×13 inch pan with foil or parchment with plenty of overhang around the edges to lift the bars out of the pan before cutting.
- Prepare the crust by combining flour, sugar, salt, and butter cubes in a food processor or blender. Cover and pulse until fine crumbs form. (You can also do this with a pastry cutter, fork, or with your fingers in a large bowl.)
- Press crust into prepared pan and bake for 10 minutes while you prepare the filling.
- Prepare the filling by combining cream cheese and sugar in a large bowl. Cream together until smooth. Mix in flour, powdered sugar, lemon juice, eggs, and vanilla until completely incorporated.
- Pour filling over crust and return to oven for 30 minutes.
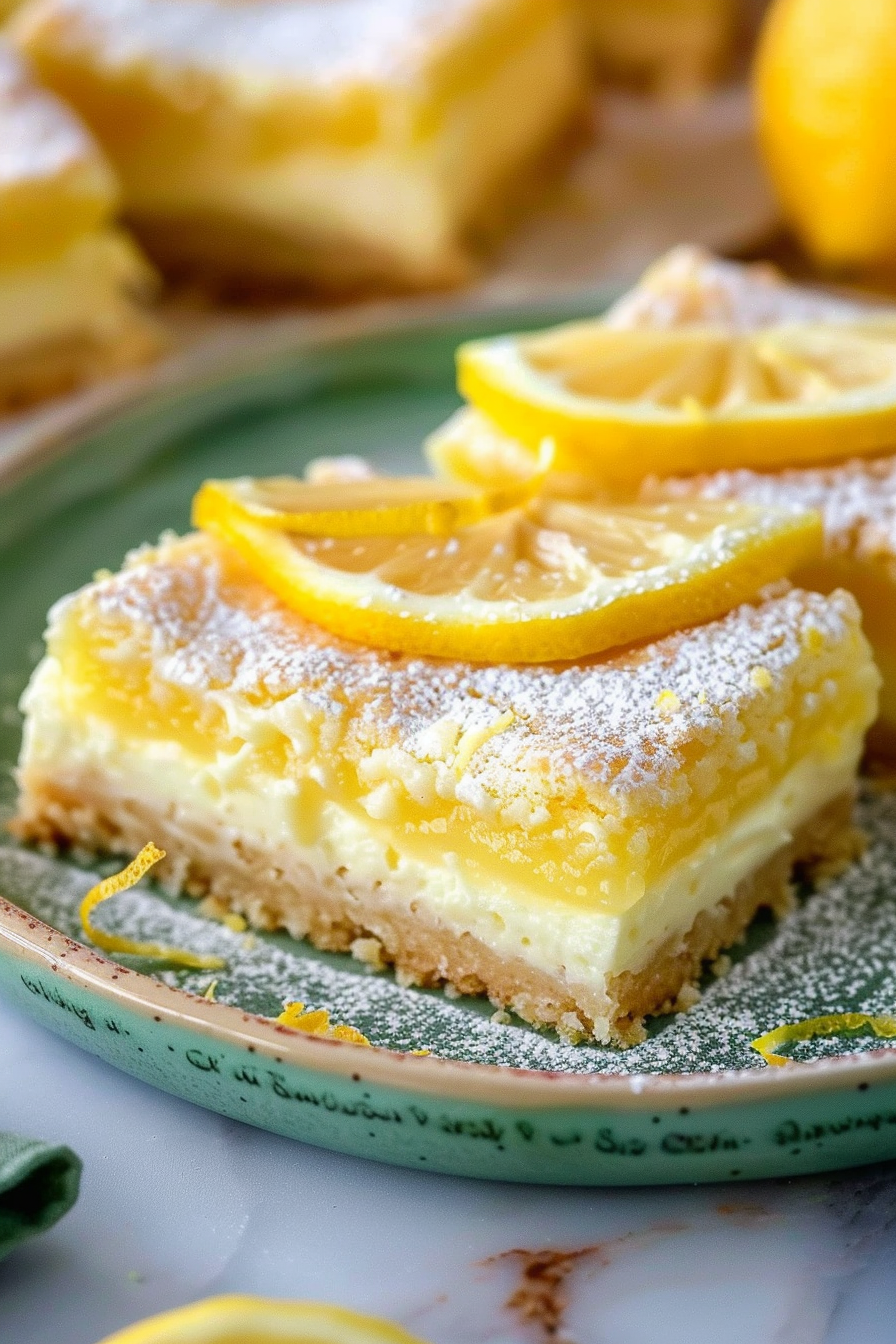
- Allow to cool for about 20 minutes, then cover and transfer chill in the fridge 4 hours or overnight. Lift the foil edges to remove the bars from the pan, slice into squares, sprinkle with additional powdered sugar, and serve.
- Flavor tip: add an extra 1 teaspoon of fresh lemon zest for even more lemon flavor!
- Altitude adjustments: if you find that after the instructed baking time your bars have not set, simply continue to bake in 5-10 minute increments until center has set. If edges begin to brown too much, tent with foil and continue baking.
- Why didn’t my lemon bars set properly?
If your lemon bars didn’t set, they likely just needed a little more time in the oven. The center should be mostly set with just a slight jiggle—if it still looks too loose, continue baking in small increments. - How do I know when the lemon bars are done baking?
You’ll know they’re done when the edges are firm and the center no longer looks glossy. A gentle shake of the pan should show only a slight movement in the middle. - Can I use bottled lemon juice instead of fresh?
Fresh lemon juice is best for this recipe. It gives a brighter, more natural flavor, but bottled juice can work in a pinch if that’s what you have on hand. - Why is my filling still runny after chilling?
If your filling is still runny after chilling, it usually means it was underbaked. You can pop it back in the oven for a few extra minutes to help it fully set. - Do I really need to chill the bars before serving?
Yes, chilling is important. It allows the filling to firm up completely and makes slicing much easier, giving you clean, neat bars instead of a soft mess.