

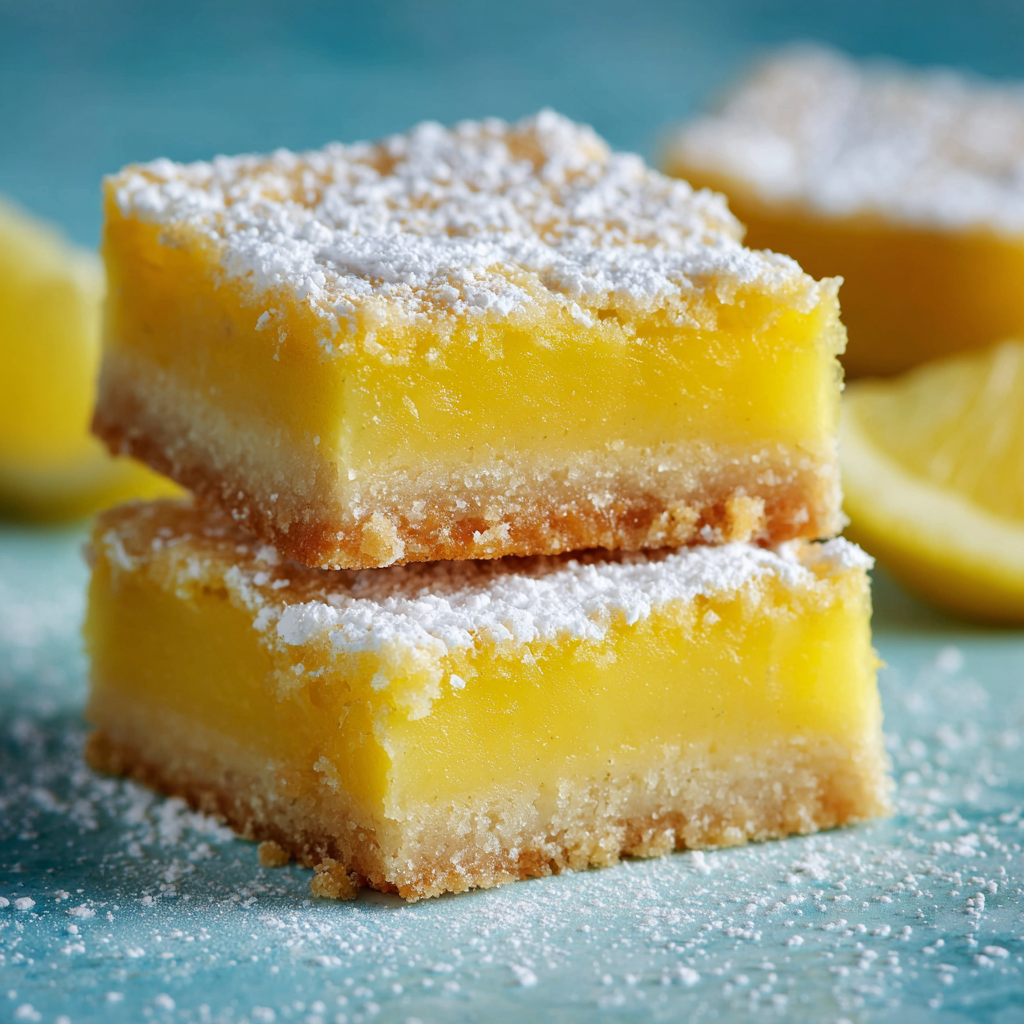
These gluten-free lemon bars are one of those simple desserts that always impress.
They’re bright, fresh, and layered with a buttery crust and a smooth,
tangy lemon filling that tastes like sunshine in every bite.
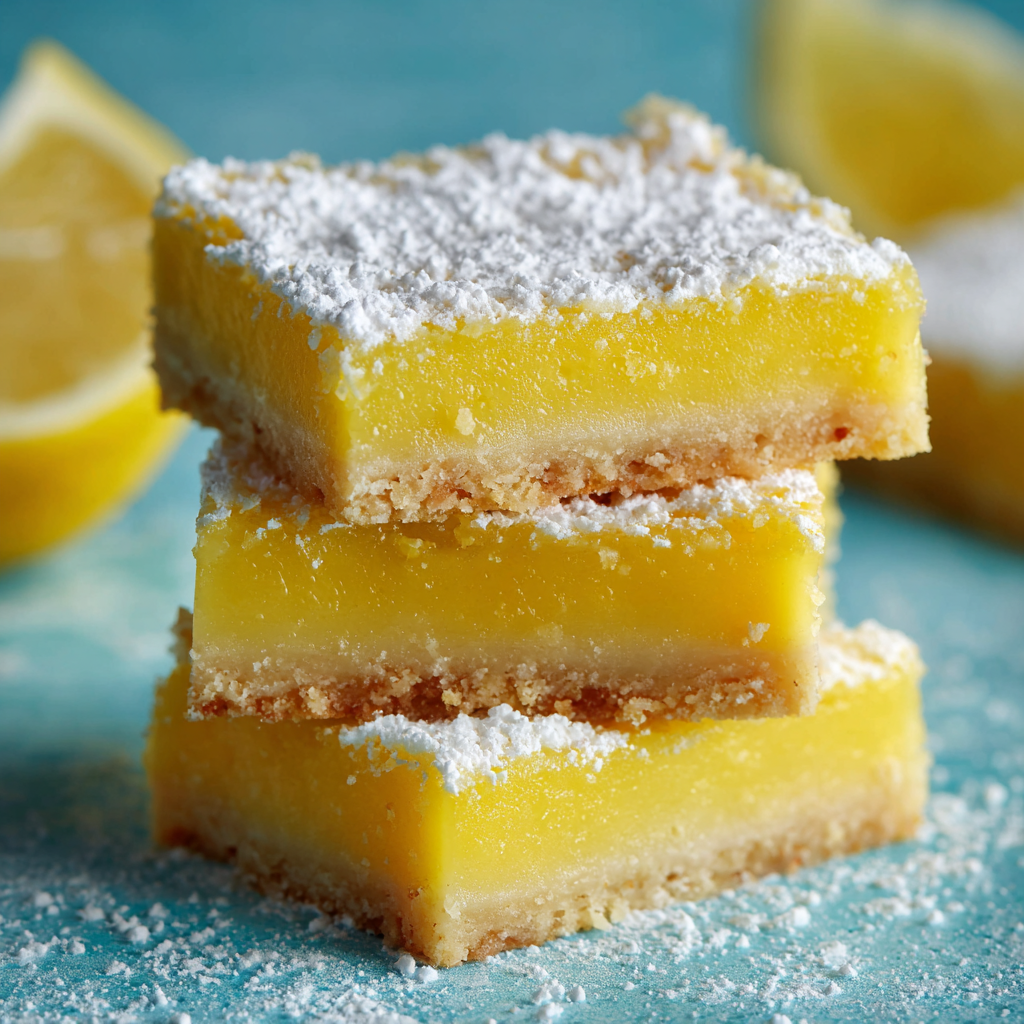
Lemon bars have always been a go-to when you want something easy
but still feel like you baked something special.
What I love most about this recipe is how effortless it is to make,
yet the flavor is perfectly balanced between sweet and citrusy—
just the way a classic lemon bar should be.
For the Shortbread Crust
- Unsalted Butter – melted butter creates a rich, tender base. You can use dairy-free butter if needed.
- Granulated Sugar – adds just enough sweetness to balance the tart lemon filling.
- Vanilla Extract – gives a subtle warmth and depth of flavor.
- Salt – enhances all the flavors in the crust.
- Gluten-Free All-Purpose Flour – forms the structure of the crust. Make sure it includes xanthan gum for best results.
For the Lemon Filling
- Eggs – provide structure and help the filling set into a smooth, custard-like texture.
- Granulated Sugar – sweetens the filling and balances the acidity of the lemon juice.
- Lemon Juice – the star ingredient that brings bright, fresh citrus flavor.
- Vanilla Extract – adds a light, complementary flavor to round out the tartness.
- Gluten-Free All-Purpose Flour – thickens the filling and helps it set properly.
- Powdered Sugar – dusted on top for a soft, sweet finish.
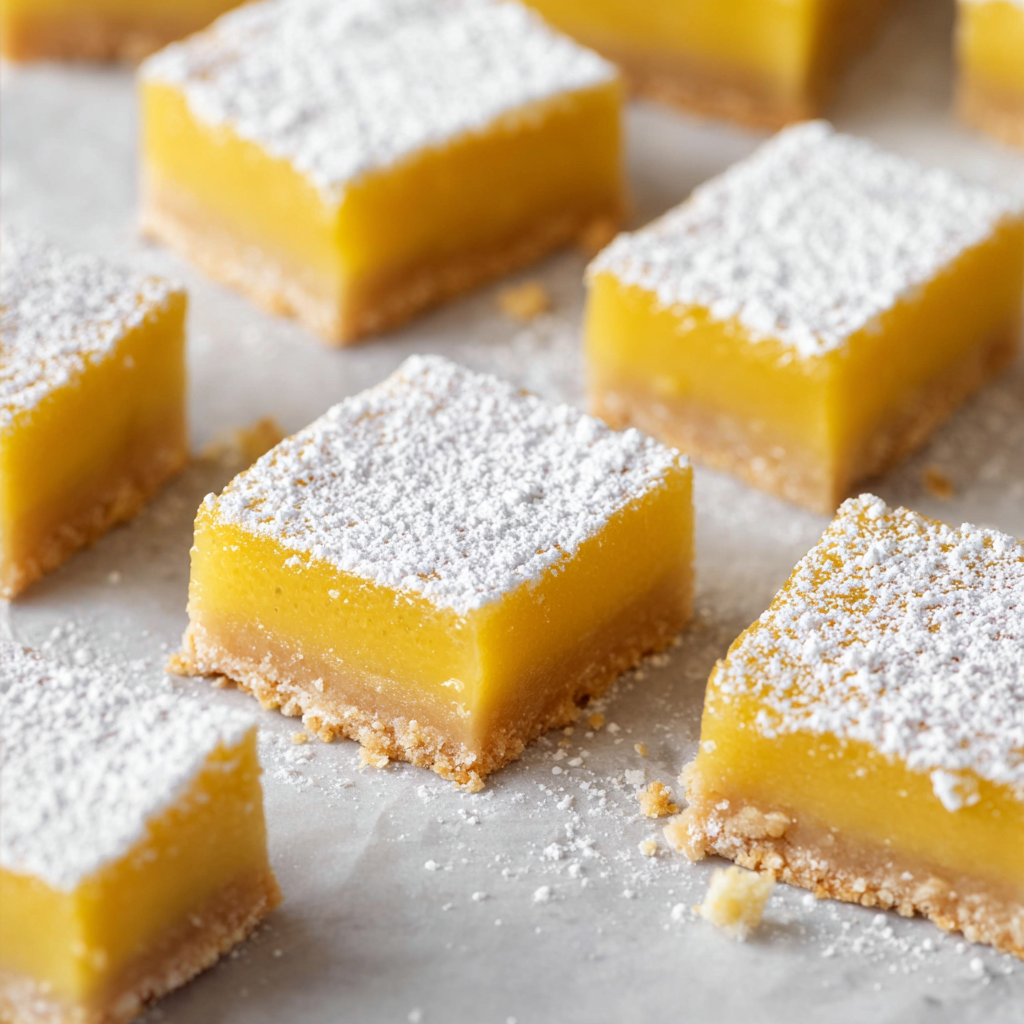
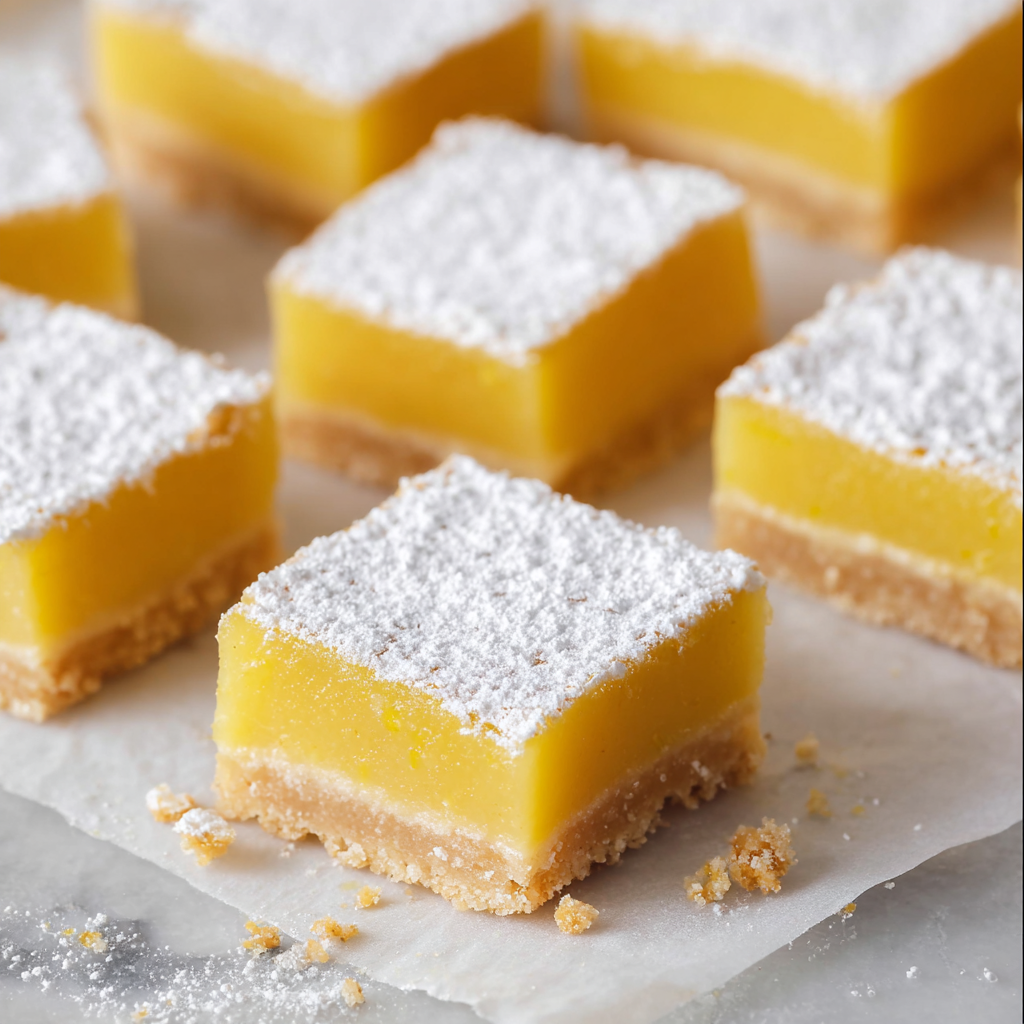
Easy Gluten-Free Lemon Bars
These bright and tangy lemon bars combine a soft, buttery base with a smooth citrus filling. They’re simple to prepare and deliver a balance of sweetness and sharp lemon flavor in every bite.
Print
Pin
Servings: 24 bars
Notes
Ingredients
Shortbread Crust
- 1 cup unsalted butter, melted (dairy-free use Smart Balance Butter)
- 1/2 cup granulated sugar
- 1 teaspoon pure vanilla extract
- 1/2 teaspoon salt
- 2 cups gluten-free all-purpose flour with xanthan gum (I like Pillsbury gluten-free. Not all gluten-free flours are created equal. You may experience different baking results depending on the gluten-free flour blend you choose.)
Lemon Filling
- 6 large eggs
- 2 cups granulated sugar
- 1 cup lemon juice (about 4 lemons)
- 1/2 teaspoon pure vanilla extract
- 1/2 cup gluten-free all-purpose flour with xanthan gum (I like Pillsbury gluten-free.)
- powdered sugar for dusting
Instructions
- Set your oven to 325°F (163°C). Prepare a 9×13 glass baking dish by lining it with parchment paper, leaving extra hanging over the sides for easy removal later.
- In a large bowl, combine the melted butter, sugar, vanilla extract, and salt. Stir until blended. Add the gluten-free flour and mix until a thick dough forms. Press the dough firmly and evenly into the prepared pan, about 1/2-inch thick. Bake for 20–22 minutes, until the edges are lightly golden. Remove and set aside.
- In another large bowl, whisk the eggs. Add the sugar and whisk until incorporated. Mix in the lemon juice and vanilla extract. Add the gluten-free flour and whisk until the mixture is smooth.
- Pour the lemon filling over the warm crust. Return the pan to the oven and bake for 26 minutes, or until the center is set and no longer jiggles.
- Let the bars cool at room temperature for 1 hour. Cover with plastic wrap and refrigerate for 2 hours until fully chilled.
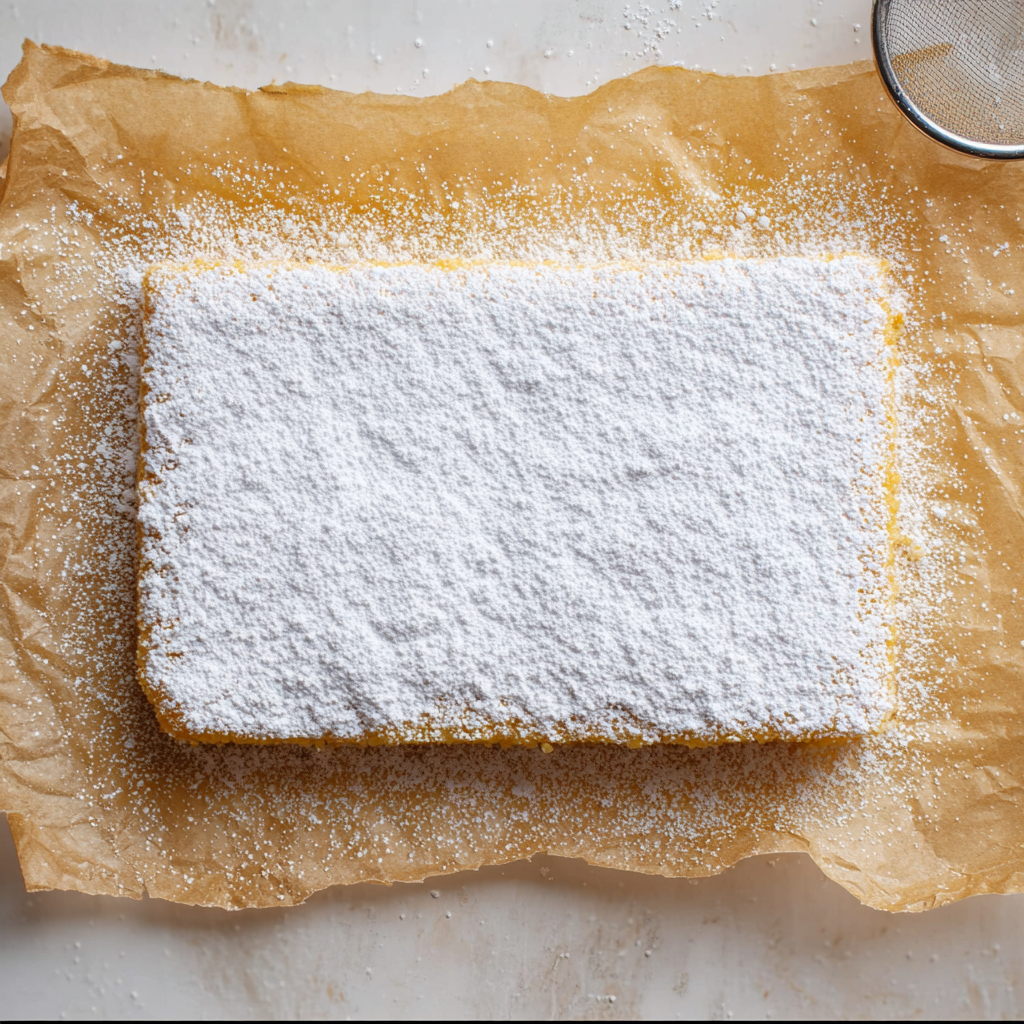
- Use the parchment overhang to lift the bars out of the pan. Dust with powdered sugar, slice into squares, and serve. For cleaner cuts, wipe the knife between slices. Store leftovers in the refrigerator and serve chilled.
- I like Pillsbury gluten-free. Not all gluten-free flours are created equal. You may experience different baking results depending on the gluten-free flour blend you choose. If your gluten-free flour doesn’t contain xanthan gum, you’ll need to add 1 tsp. I always opt for a high-quality blend that already contains it. I like Pillsbury Gluten-Free.
- For dairy-free lemon bars, use Smart Balance Butter or vegan butter.
- Check all ingredient labels for possible cross-contamination and ingredients containing allergens.
- Use the bottom of a flat measuring cup or a small offset spatula to press the shortbread dough evenly into the pan. This ensures an even thickness and consistent baking.
- Line your baking pan with parchment paper, leaving an overhang on the sides. This makes it easy to lift the bars out of the pan for cutting.
- For smoother squares, wipe the knife clean between each row that you cut.
- Store any leftovers in an airtight container or cover them tightly and refrigerate for up to 5 days to maintain freshness.
- For longer storage, you can freeze the lemon bars in an airtight container or freezer-safe bag for up to 3 months. Thaw in the refrigerator before serving.
- How do I know when the lemon bars are done?
The bars are ready when the center is set and no longer jiggles when you gently shake the pan. They will continue to firm up as they cool, so don’t overbake. - Why are my lemon bars runny?
This tends to happen when the bars are underbaked or not chilled long enough. Make sure to bake until set and allow the full chill time so the filling can properly firm up. - Do lemon bars need to be refrigerated?
Yes, you’ll want to refrigerate these. Since the filling contains eggs, they should be stored in the fridge and actually taste even better when chilled. - Can I use bottled lemon juice instead of fresh?
Fresh lemon juice is best for the brightest flavor. Bottled lemon juice will work in a pinch, but the taste won’t be quite as fresh. - Why is my crust soggy?
The crust can turn soggy if it isn’t baked long enough before adding the filling. Make sure it’s lightly golden around the edges before pouring the lemon layer on top.