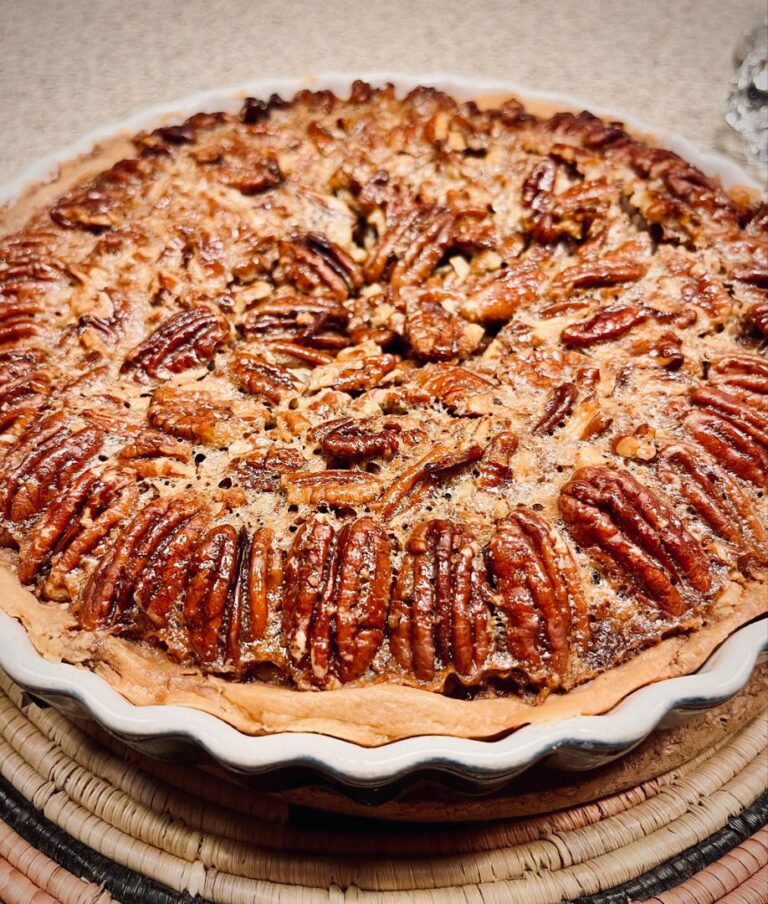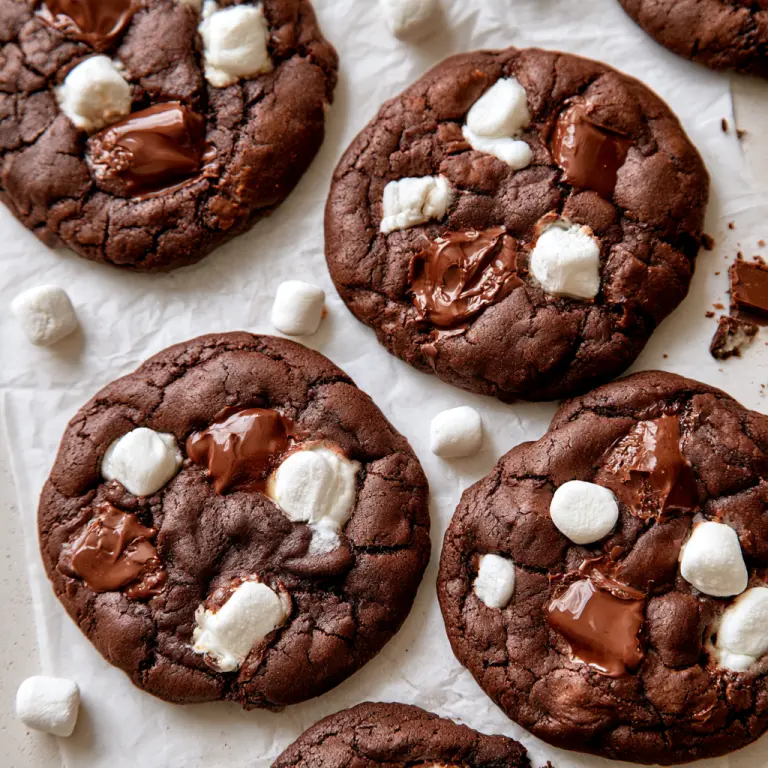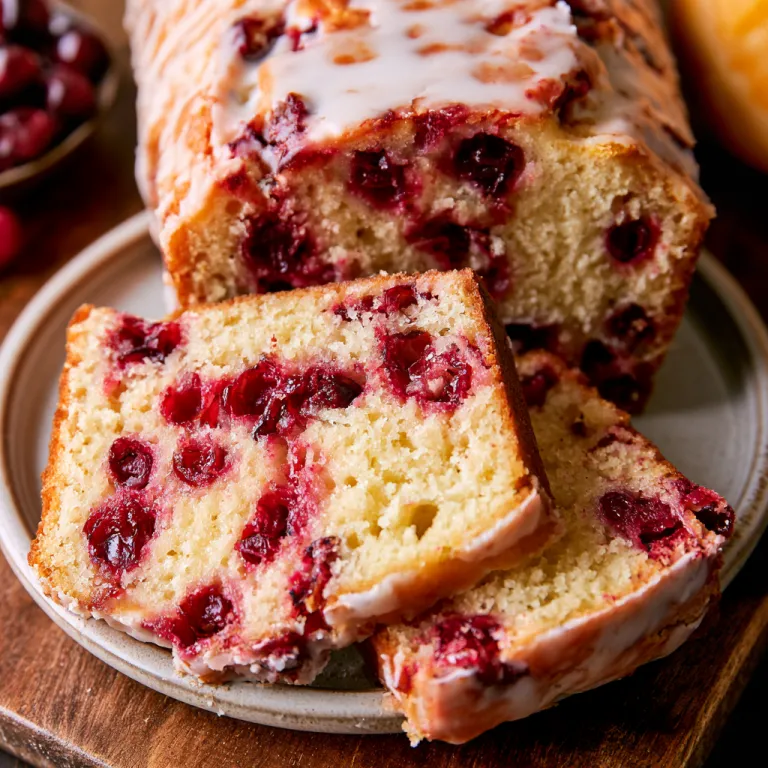

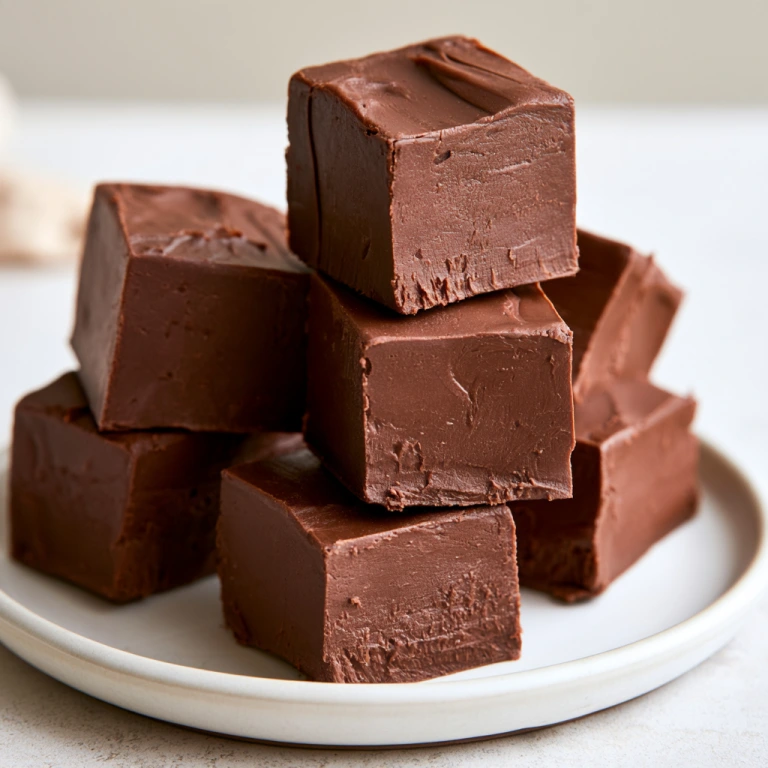
Rich, smooth, old-fashioned chocolate fudge made the classic way on the stove, with just five simple ingredients. It’s the deep, cocoa-y Christmas fudge that melts on your tongue and reminds everyone of grandma’s kitchen.
Let’s talk about real fudge for a second. The quick condensed milk versions are fine, but old-fashioned chocolate fudge is a different thing altogether. Sugar, cocoa and milk are boiled together to a precise temperature, cooled, then beaten until the mixture turns from glossy to matte. That beating is what creates the tiny sugar crystals that give fudge its firm, creamy, melt-in-your-mouth texture.
It sounds fancy, but it’s really just about following a few cues: the right temperature, leaving it alone while it cools, and beating until the shine disappears. Nail those, and you’ve got proper, nostalgic fudge.
Cut it into little squares for Christmas cookie trays, holiday gift boxes and family get-togethers.
Why You’ll Love This Christmas Fudge
- Just 5 pantry ingredients: sugar, cocoa, milk, butter and vanilla.
- Classic texture: firm, smooth and creamy, the real old-fashioned way.
- Deep cocoa flavour: rich and chocolatey without being cloying.
- Makes 64 squares: plenty for gifts and holiday platters.
- No thermometer? No problem: the cold water test works too.
Ingredient Notes & Easy Substitutions
White sugar – Forms the structure of the fudge as it boils and then crystallises when beaten.
Unsweetened cocoa powder – Gives all the chocolate flavour. Use unsweetened, not drinking chocolate or sweetened cocoa.
Whole milk – Dissolves the sugar and adds creaminess. Lower-fat milk may give a less rich fudge, so whole milk is best.
Unsalted butter – Added after cooling for richness and a silky finish. Slice and soften it so it beats in easily.
Vanilla extract – Rounds out the chocolate flavour.
Step-by-Step Guide to Making Old-Fashioned Chocolate Fudge
1. Grease the pan
Grease an 8-inch square pan so the fudge is ready to go in as soon as it’s beaten. Things move quickly at the end.
2. Bring it to a boil
Stir the sugar and cocoa together in a saucepan, then stir in the milk until smooth. Heat over medium-high, stirring constantly, until it boils.
3. Simmer to the soft-ball stage
Turn the heat down to low, clip on a candy thermometer and let it simmer without stirring until it hits 238°F, about 10 minutes. No thermometer? Drop a little into cold water. If it forms a soft ball that flattens when you set it down, it’s ready.
4. Let it cool, undisturbed
Take the pan off the heat and walk away. Let it cool to 110°F, which takes 50 to 70 minutes. Don’t stir it, don’t shake it, don’t even move it. This is what keeps the fudge smooth instead of grainy.
5. Beat until it loses its shine
Add the butter and vanilla and beat with a wooden spoon. At first it’s glossy, but keep going. When it turns matte and starts to thicken, it’s ready. Don’t stop early!
6. Press and set
Quickly pour it into the pan and press it flat. Let it cool completely, on the counter or in the fridge, then cut into 1-inch squares.
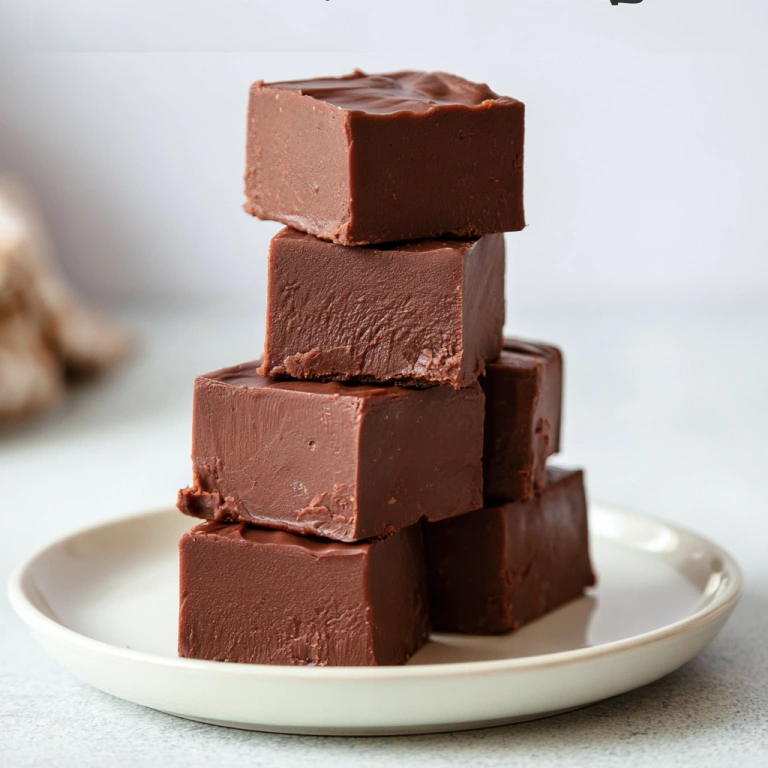
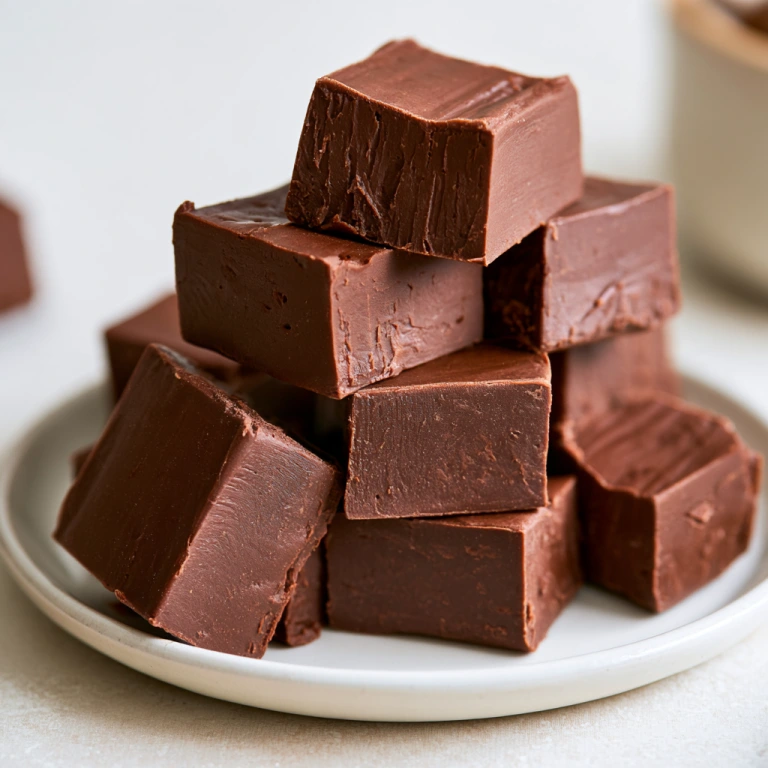
Old-Fashioned Chocolate Fudge
Equipment
- 8-inch square baking pan
- Medium saucepan
- Candy thermometer
- Wooden spoon
Ingredients
- 2 cups white sugar
- 1/2 cup unsweetened cocoa powder
- 1 cup whole milk
- 4 tablespoons unsalted butter sliced and softened
- 1 teaspoon vanilla extract
Instructions
- Grease an 8-inch square baking pan.
- Put the sugar and cocoa in a medium saucepan and stir in the milk until smooth. Heat over medium-high, stirring all the time, until it comes to a boil.
- Turn the heat to low and clip a candy thermometer to the pan. Let it simmer without stirring until it reaches 238°F (114°C), about 10 minutes.
- No thermometer? Drop a little of the mixture into cold water. When it forms a soft ball that flattens once you take it out and set it down, it is ready.
- Take the pan off the heat and leave it alone to cool to 110°F (43°C), 50 to 70 minutes. Do not stir or move it while it cools.
- Add the butter and vanilla, then beat with a wooden spoon until fully mixed in and the fudge turns from glossy to matte. Keep going until the shine is gone.
- Pour into the prepared pan and press it flat. Let it cool completely, at room temperature or in the fridge, then cut into 1-inch squares.
Notes
- Beat until matte: Stopping too soon is the most common reason fudge stays soft. Beat until it loses its sheen.
- Nutrition: Estimated per 1-inch square from the ingredients.
Nutrition
Tips for the Best Old-Fashioned Fudge
- Use a candy thermometer: 238°F is the magic number for the right texture.
- Stop stirring once it boils: stirring while it simmers can make it grainy.
- Leave it alone while cooling: any movement can trigger early crystals.
- Beat with a wooden spoon: it’s sturdy enough for the thick fudge.
- Watch for matte: the change from shiny to dull is your cue to pour.
- Have the pan ready: fudge sets quickly once it’s beaten.
Common Mistakes to Avoid
- Not reaching 238°F: undercooked fudge won’t set. Use a thermometer or the cold water test.
- Stirring as it simmers: leave it alone once the heat is turned down.
- Beating while it’s too hot: wait until it cools to 110°F before adding the butter and beating.
- Under-beating: if it’s still glossy, keep going. Soft, sticky fudge is usually under-beaten.
- Disturbing it while cooling: moving the pan can make the fudge grainy.
Easy Ways to Change It Up
The recipe card is the classic version. These are optional ideas:
- Nutty fudge: stir in chopped walnuts or pecans right before pouring.
- Flaky salt: sprinkle a little on top while the fudge is still soft.
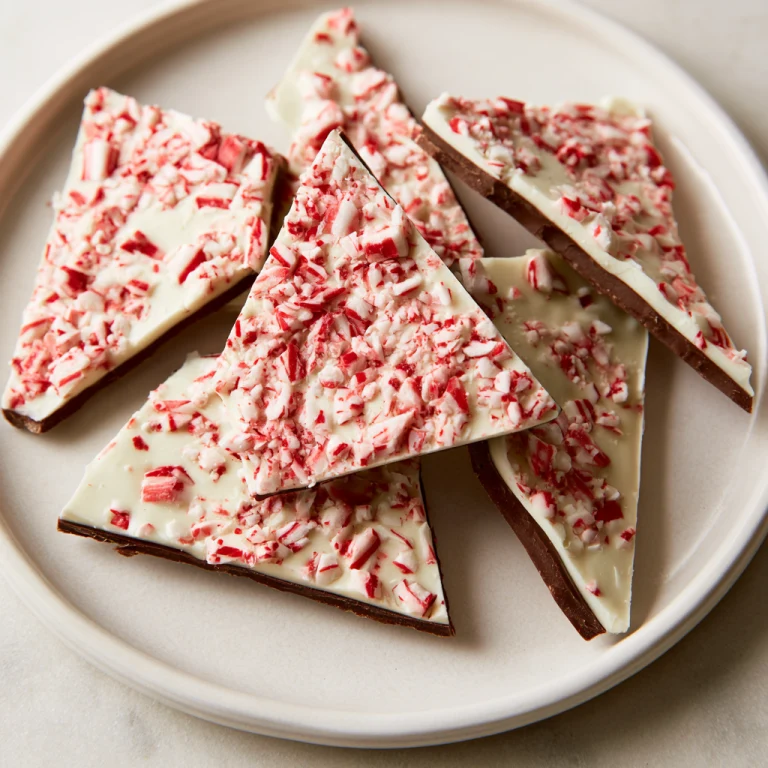
- Peppermint fudge: top with crushed candy canes for Christmas.
- Mocha twist: add a little instant espresso powder with the cocoa.
How to Serve Old-Fashioned Chocolate Fudge
Cut it into small squares and pile it onto a holiday dessert board with cookies and candy. It’s lovely with a cup of coffee after dinner, and it makes a classic homemade gift packed into tins or little boxes lined with baking paper.
Make-Ahead and Storage Tips
- Make ahead: fudge is a great make-ahead treat for the holidays since it needs time to cool and set.
- Storing: keep it in an airtight container, with baking paper between layers, at room temperature or in the fridge.
- Freezing: fudge generally freezes well, tightly wrapped. Thaw it in the fridge before serving.
Frequently Asked Questions
Why didn’t my fudge set?
Usually it wasn’t cooked to 238°F, or it wasn’t beaten long enough. Make sure it hits soft-ball stage and beat until it loses its shine.
Why is my fudge grainy?
Stirring while it simmers or disturbing it as it cools can cause large sugar crystals. Leave it alone at both stages.
Can I make fudge without a candy thermometer?
Yes. Drop a little of the mixture into cold water. If it forms a soft ball that flattens when you take it out, it’s ready.
How do I know when to stop beating fudge?
When it changes from glossy to matte and starts to thicken. Then pour it into the pan right away.
Can I put fudge in the fridge to set?
Yes. It can cool completely at room temperature or in the refrigerator before you cut it.
Old-fashioned chocolate fudge takes a little patience, but the reward is a smooth, rich, real-deal fudge that no shortcut can match.
Make a pan this Christmas, cut it into squares and share it around. It’s a little taste of tradition.