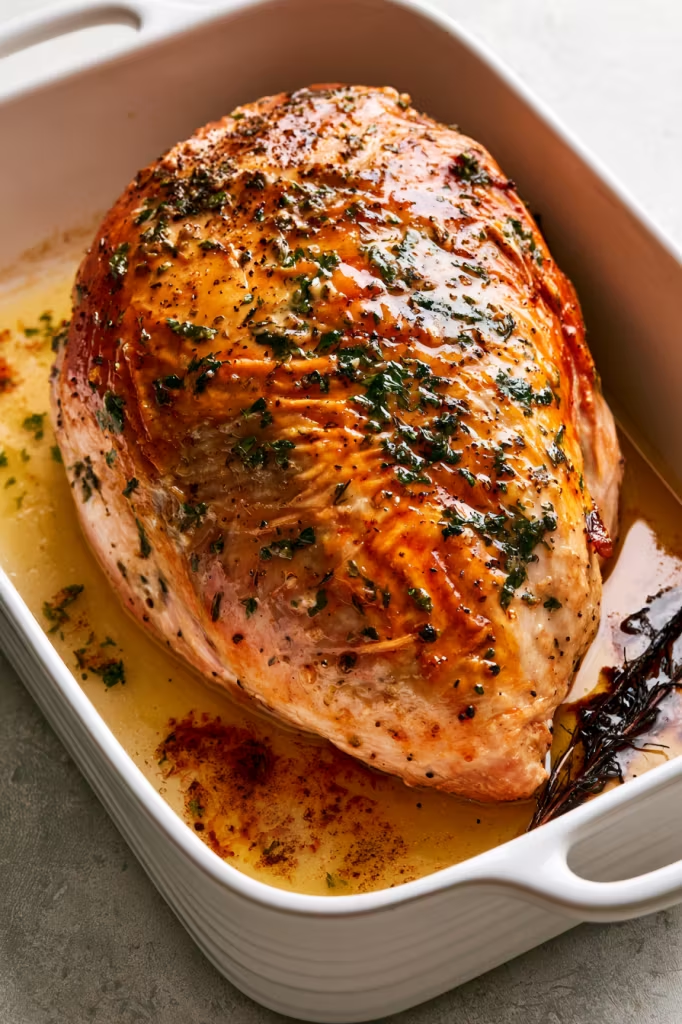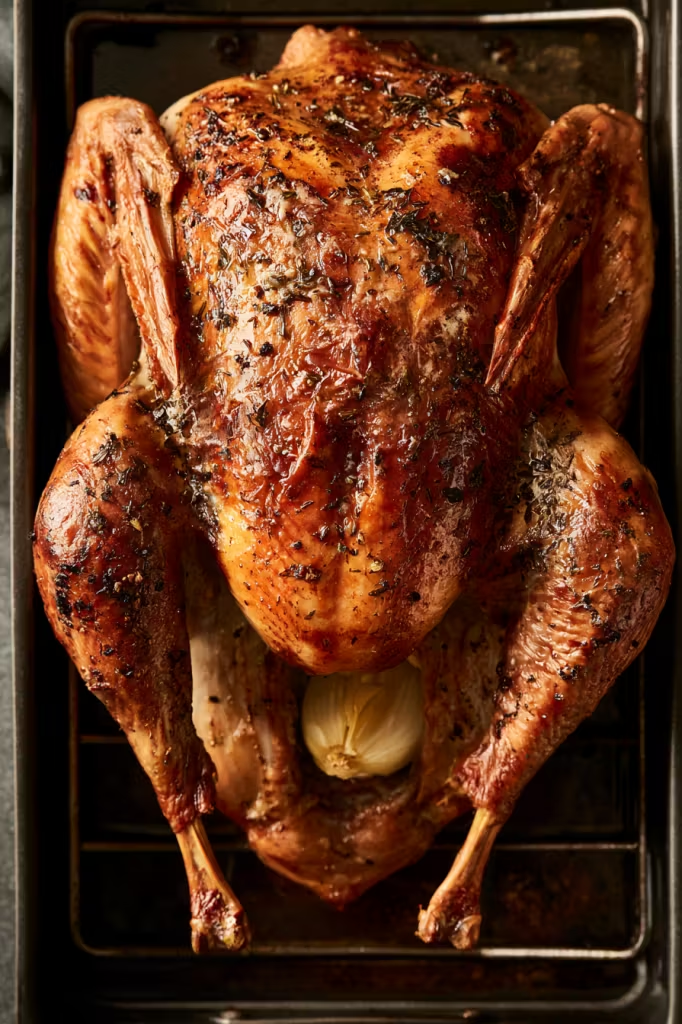
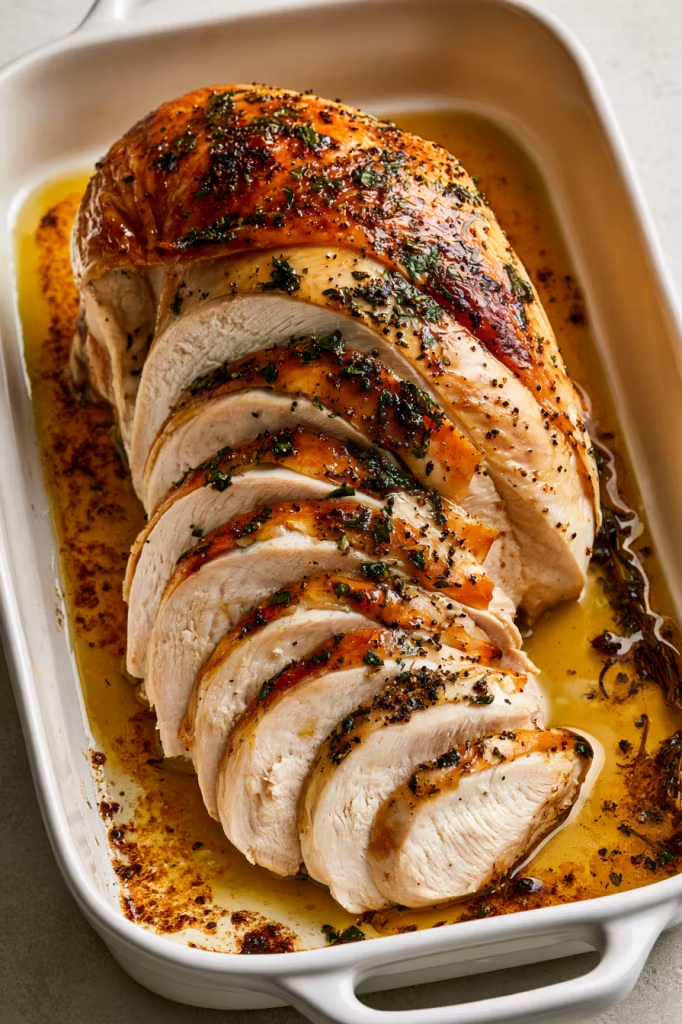
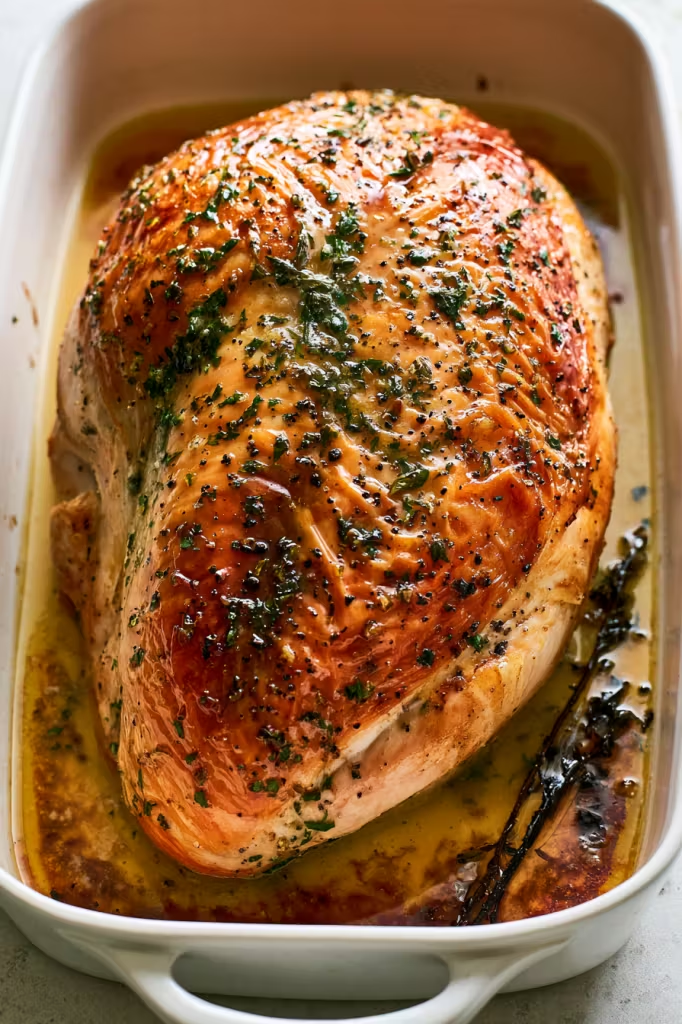
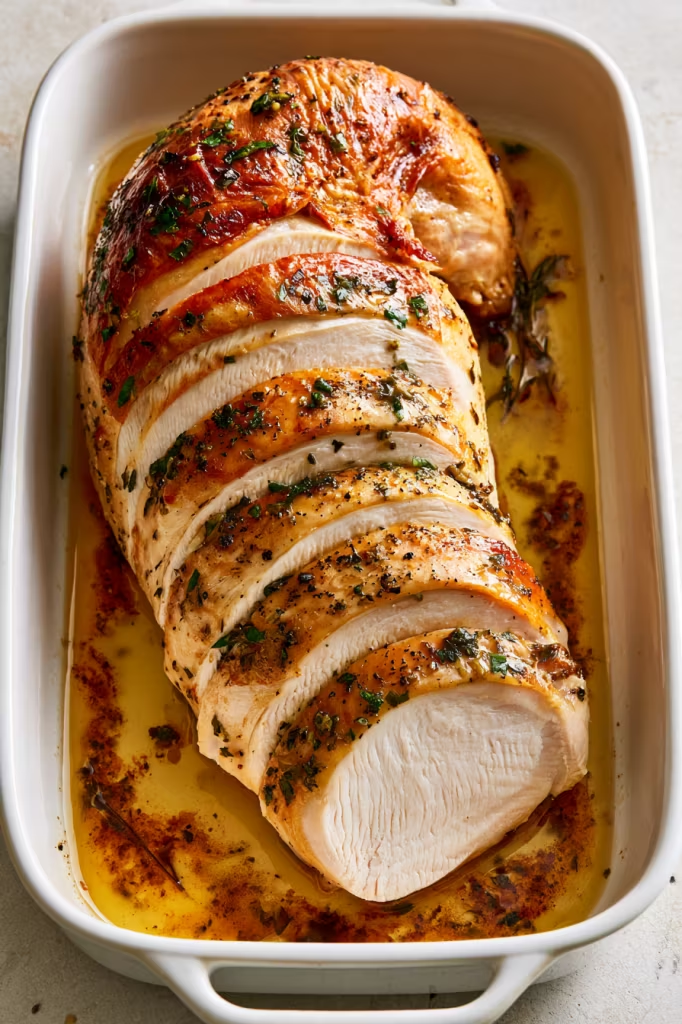
Golden and crisp on the outside, tender and juicy in the middle, this herb-butter roast turkey is the kind of centerpiece that makes a holiday table feel complete.
There’s something special about roasting a turkey at home. The lemon, garlic, and parsley butter smells incredible as the bird cooks, the skin slowly turns golden, and before long, the whole kitchen has that unmistakable holiday-dinner aroma.
But what I love most about this recipe is how much attention it gives to the turkey breast. Butter goes right underneath the skin, where it can season the meat as it cooks, and a simple foil shield protects the breast later in the roasting process. You get juicy slices of white meat, beautifully browned skin, and plenty of flavorful pan drippings for gravy.
If a whole turkey has always seemed a little intimidating, this is a wonderful recipe to start with. Take it one step at a time, keep your thermometer nearby, and give the turkey plenty of time to rest before carving. Then bring it to the table with all your favorite holiday sides and enjoy!
Why You’ll Love This Recipe
This roast turkey has everything I want in a holiday main dish: crisp skin, juicy meat, fresh herbs, plenty of garlic, and just enough lemon to brighten all those rich, savory flavors.
Herb butter – Butter mixed with lemon, garlic, and fresh parsley adds richness and flavor. Most of it goes underneath the skin, so it seasons the breast directly as the turkey roasts.
A juicy turkey breast – The combination of butter beneath the skin and the foil shield helps protect the breast during the long roasting time.
Golden, savory skin – The outside gets another layer of butter, a drizzle of olive oil, and plenty of salt and pepper before it goes into the oven.
Simple aromatics – Onion, garlic, parsley, and lemon fill the cavity. As they warm, they add wonderful aroma and flavor without the need for traditional stuffing inside the bird.
Delicious pan drippings – Don’t pour them away! The buttery, savory juices left behind in the roasting pan are exactly what you want for a rich turkey gravy.
Let’s roast a turkey!
Roast Turkey Ingredients
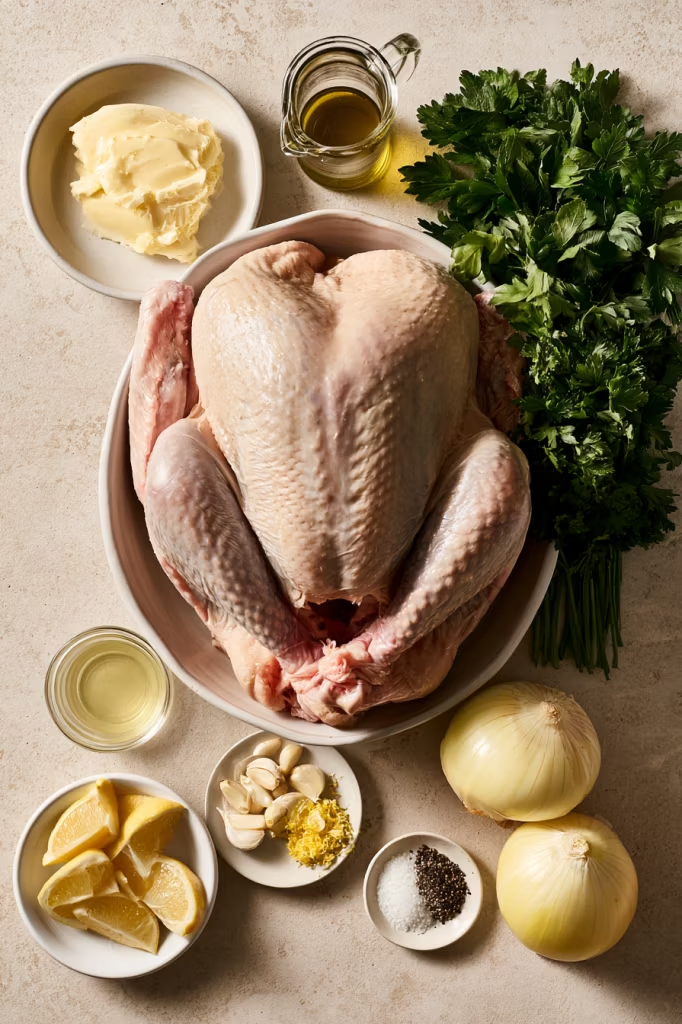
Here’s what you’ll need to make this juicy herb-butter roast turkey:
- Turkey – This recipe is designed for a 12 lb turkey, though anything from 11–15 lbs will work. Just keep in mind that the roasting time will change depending on the size of your bird.
- Salt and Pepper – For seasoning the turkey inside and out. A generous seasoning on the exterior also helps give the skin plenty of savory flavor.
For the Flavored Butter
- Unsalted Butter – The base of the flavored butter. It goes underneath the skin and over the outside of the turkey, adding richness and helping keep the breast tender and juicy.
- Olive Oil – Mixed into the butter and drizzled over the turkey before roasting. Use regular olive oil rather than extra virgin.
- Fresh Lemon Juice and Zest – Lemon adds a fresh, bright flavor that balances the richness of the butter. You’ll use both the juice and zest in the flavored butter.
- Garlic – Pressed fresh garlic gives the butter lots of savory flavor and seasons the turkey as it roasts.
- Fresh Parsley – Adds freshness and a light herbal flavor to the butter.
For the Turkey Cavity
- Onion – A quartered onion goes inside the turkey, where it adds savory aroma and flavor as the bird roasts.
- Garlic – Halved garlic cloves are tucked into the cavity with the other aromatics for another layer of garlicky flavor.
- Parsley – Fresh parsley adds an herby aroma from inside the turkey as it cooks.
- Lemon – A quartered lemon goes into the cavity, adding a fresh citrus aroma that works beautifully with the lemon in the flavored butter.
Step-by-Step Instructions
Start with the Turkey
First, get the turkey ready. Take it out of the refrigerator about 30 minutes before you begin, remove the neck and giblets, and pat it very dry. Tuck the wings behind the bird so they’re protected from the heat of the oven.
Make the Herb Butter
Next, mix the softened butter with the olive oil, lemon zest, lemon juice, garlic, parsley, salt, and pepper.
It may take a little patience to work the lemon juice into the butter. Keep mixing until everything comes together. A food processor makes this step especially easy.
Butter the Turkey
Now for the part that makes this turkey so good! Gently work your fingers underneath the breast skin, loosening it without tearing it.
Spread 2/3 of the flavored butter underneath the skin. Massage the outside of the breast to distribute it, then rub the remaining butter over the breast, legs, and wings.
Finish the outside with olive oil, salt, and pepper.
Add the Aromatics
Fill the turkey cavity with the quartered onion, garlic, parsley, and lemon. Tie the legs together with kitchen string to hold everything neatly in place.
At this point, the turkey is ready for the oven.
Make the Foil Shield
Before roasting, shape a large piece of foil over the breast. You’ll remove it initially, but keep it nearby—you’ll add it after the turkey has started roasting.
This simple step helps protect the breast while the rest of the turkey continues cooking.
Roast and Baste
Start the turkey uncovered at 430˚F for 20 minutes.
Then take it out briefly and spoon the buttery pan juices over the bird. Place the prepared foil shield over the breast, reduce the oven temperature to 350˚F, and continue roasting according to the recipe.
Your kitchen should be smelling pretty amazing by now.
Let It Rest
When the turkey has finished roasting, transfer it to a platter and loosely cover it with foil.
Now comes one of the easiest—and most important—parts: leave it alone! Give the turkey at least 1 hour to rest before carving.
And whatever you do, save those pan drippings for gravy.
Expert Tips
A few little details make a big difference when you’re roasting a whole turkey.
Thaw it completely. Give a frozen turkey enough time to defrost all the way through before you begin. A 12 lb turkey needs about 3 days in the refrigerator.
Get the skin nice and dry. Before adding the butter, pat the turkey thoroughly with paper towels. You don’t want excess surface moisture getting in the way of that golden exterior.
Be gentle underneath the skin. Loosen the breast skin gradually with your fingers. You want to create a pocket for the flavored butter without tearing the skin.
Make the foil shield before the turkey goes into the oven. It’s much easier to shape it over a cool turkey than a roasting-hot one. Once it fits, set it aside until you need it.
Use your thermometer. Roasting times are helpful guides, but the temperature tells you what is actually happening inside the turkey.
Save every drop of those drippings. After roasting, the bottom of the pan will be full of buttery, savory turkey flavor. Set it aside for gravy while the turkey rests.
Don’t hurry the rest. It can be tempting to start carving as soon as that golden turkey comes out of the oven, but this recipe calls for at least an hour of resting. Use that time to finish your gravy and side dishes.
Recipe Variations
I’d keep the turkey itself just as written, but you can have fun with what you serve around it.
For a classic Thanksgiving dinner, pair it with stuffing, mashed potatoes, cranberry sauce, gravy, and something green. It’s the cozy holiday combination that never gets old.
For Christmas, I love the idea of leaning into the fresh herbs and citrus. Arrange rosemary, parsley, lemon wedges, orange slices, or small apples around the finished turkey for a simple festive centerpiece.
You can also change the sides depending on the occasion. Serve it with roasted root vegetables and potatoes for a rustic dinner, or add colorful salads and green vegetables if you want something fresher alongside the rich turkey and gravy.
Storage & Reheating
Leftover turkey is one of the best parts of making a whole bird!
Once dinner is over, remove the remaining meat from the carcass and transfer it to airtight containers. Keep it refrigerated and use it within 3 to 4 days.
For longer storage, shred or portion the meat and place it in freezer-safe bags or containers. Following the original recipe, you can freeze the turkey for up to 3 months. Let it thaw in the refrigerator before reheating.
When you’re ready for leftovers, I especially like reheating turkey with gravy. Place the meat in a covered dish with gravy, broth, or a little of both and warm it gently. The added moisture helps keep those leftover slices tender instead of dry.
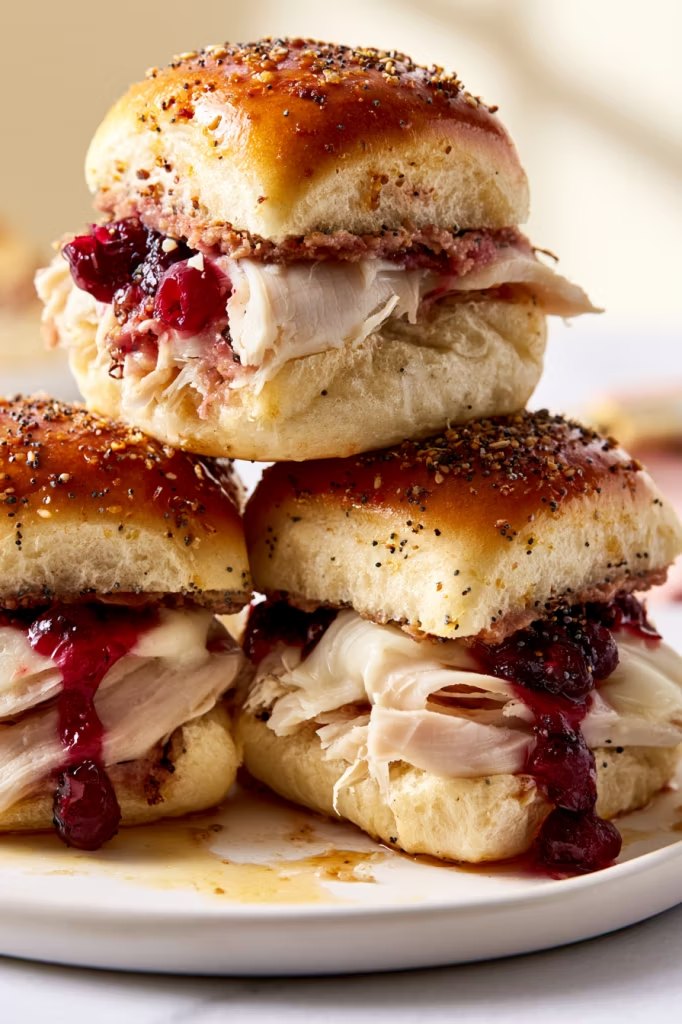
And don’t stop at reheating! Cold or warmed turkey is wonderful tucked into sandwiches, added to soups, piled onto salads, or turned into an easy next-day meal with leftover stuffing and cranberry sauce.
Serving Suggestions
This turkey is made for a big holiday spread.
For Thanksgiving, serve it with creamy mashed potatoes, turkey gravy, stuffing, cranberry sauce, sweet potatoes, and roasted Brussels sprouts or green beans. Add warm dinner rolls or crusty bread for catching every last bit of gravy.
If you’re serving it for Christmas or another winter gathering, roasted potatoes, carrots, squash, green vegetables, and a crisp seasonal salad all pair beautifully with the buttery herb and lemon flavors.
And finally, make the platter look special! Once the turkey has rested, arrange fresh herbs, quartered lemons, orange slices, small apples, or other seasonal garnishes around it.
Bring the whole turkey to the table before carving if you can. After all that roasting, basting, and waiting, that golden bird deserves its moment.
Recipe FAQs
1. How long does it take to thaw a turkey?
For a 12-pound turkey, plan on about 3 days in the refrigerator. A good rule is to allow 1 day of thawing for every 4 to 5 pounds. Make sure the turkey is completely thawed before you start prepping so it cooks evenly.
2. How do I know when my turkey is fully cooked?
The easiest way is to use a meat thermometer. Check the thickest part of the breast as well as the innermost part of the thigh and wing. The turkey should reach at least 165°F in all three places. Don’t rely on the color of the meat or juices alone.
3. Why do I need to put butter under the turkey skin?
This is what gives the breast so much flavor and richness. Gently loosen the skin with your fingers, then spread the flavored butter underneath so it sits directly against the meat. Just be careful not to tear the skin while you’re working.
4. What does the foil shield do?
The foil helps protect the turkey breast while the rest of the bird finishes roasting. Shape the foil over the breast before the turkey goes into the oven, then set it aside. After the first 20 minutes of roasting and basting, place it back over the breast and continue cooking.
5. Can I prepare the turkey ahead of time?
Yes. You can prepare the turkey a day ahead, including adding the aromatics and flavored butter. Cover it and keep it refrigerated overnight, then remove it from the refrigerator about 1 hour before roasting the next day.
Juicy Herb-Butter Roast Turkey
Ingredients
For the Turkey
- 12 lb turkey, (Anything from 11-15 lbs will work, but bake time will vary), thawed
- Salt & Pepper, for the inside and outside of the bird
For the Flavored Butter
- 1 cup unsalted butter, softened, (2 sticks)
- 2 tbsp olive oil, not extra virgin, plus more to drizzle top
- 4 tbsp fresh lemon juice, from 1 large lemon, plus 1/2 Tbsp lemon zest
- 3 large garlic cloves, pressed
- 1/4 cup freshly chopped parsley
- 1/2 tsp salt, I used sea salt
- 1/2 tsp black pepper, freshly ground
For the Stuffing
- 1 large onion, peeled and quartered
- 4 garlic cloves, peeled and halved
- 1/2 bunch parsley
- 1 lemon, quartered
Instructions
Prepare the Turkey
- Take the thawed turkey out of the refrigerator about 30 minutes before beginning. Bringing it closer to room temperature helps it cook more evenly.
- Remove the neck and giblets. Dry the turkey thoroughly with paper towels. Place it in a roasting pan lined with paper towels so any remaining moisture can be absorbed, then remove and discard the paper towels.
- Tuck the wings behind the turkey to help prevent them from scorching during roasting.
Season and Stuff the Turkey
- Season the inside of the turkey cavity generously with about 1 tsp salt and 1/4 tsp pepper.
- Prepare the flavored butter in a medium bowl or food processor. Combine 2 sticks softened butter, 2 Tbsp olive oil, 1/2 Tbsp lemon zest, 4 Tbsp lemon juice, 3 pressed garlic cloves, 1/4 cup chopped parsley, 1/2 Tbsp salt, and 1/2 tsp pepper. Mash and stir with a fork until thoroughly combined. The lemon juice may initially resist mixing into the butter, so continue mixing for several minutes until incorporated.
- Carefully slide your fingers underneath the skin covering the turkey breast to loosen it from the meat. Work from both the front and back, taking care not to tear the skin.
- Place 2/3 of the butter mixture beneath the loosened skin. Massage the outside of the skin to distribute the butter evenly over the breast.
- Dry the outside of the turkey again if necessary. Spread the remaining butter over the breast, legs, and wings. Drizzle olive oil over the turkey and season the exterior generously with salt and pepper.
- Fill the cavity with the quartered onion, 4 halved garlic cloves, 1/2 bunch of parsley, and quartered lemon. Tie the base and legs together with kitchen string, crossing the legs to help close the cavity.
Roast the Turkey
- Preheat the oven to 430˚F using the bake setting. Position an oven rack in the lower portion of the oven; the second level from the bottom works well.
- Prepare a foil shield for the breast. Fold a large square of aluminum foil into a triangle. Coat one side lightly with olive oil, then place it oil-side-down over the turkey breast and mold it to the shape of the breast. Remove the foil and set it aside for later.
- Insert an oven-safe meat thermometer beneath the drumstick and deep into the dark meat.
- Place the turkey in the oven uncovered and roast at 430˚F for 20 min.
- Remove the turkey briefly from the oven and baste it with the butter and juices collected at the bottom of the roasting pan. Use a baster, or carefully tilt the pan and spoon the liquid over the turkey.
- Place the prepared foil triangle over the breast.
- Reduce the oven temperature to 350˚F and continue roasting for another 2 hours 30 min for a 12 lb bird. Once the temperature has been reduced to 350˚F, allow about 13 min for every pound of turkey.
- Continue cooking until the thigh reaches 170˚F on the temperature probe and the breast reaches 160˚F. Remove the turkey from the oven. Its internal temperature will continue to rise as it rests.
Rest the Turkey
- Move the roasted turkey to a serving platter. Cover it completely but loosely with foil.
- Allow the turkey to rest for at least 1 hour before carving. The resting period allows the meat to become more tender and makes carving easier.
- Reserve the drippings in the roasting pan for making turkey gravy.
Notes
Recipe Notes
Nutrition
Calories: 556kcal | Carbohydrates: 3g | Protein: 103g | Fat: 13g Per serving, based on the nutrition information provided in the original recipe card.