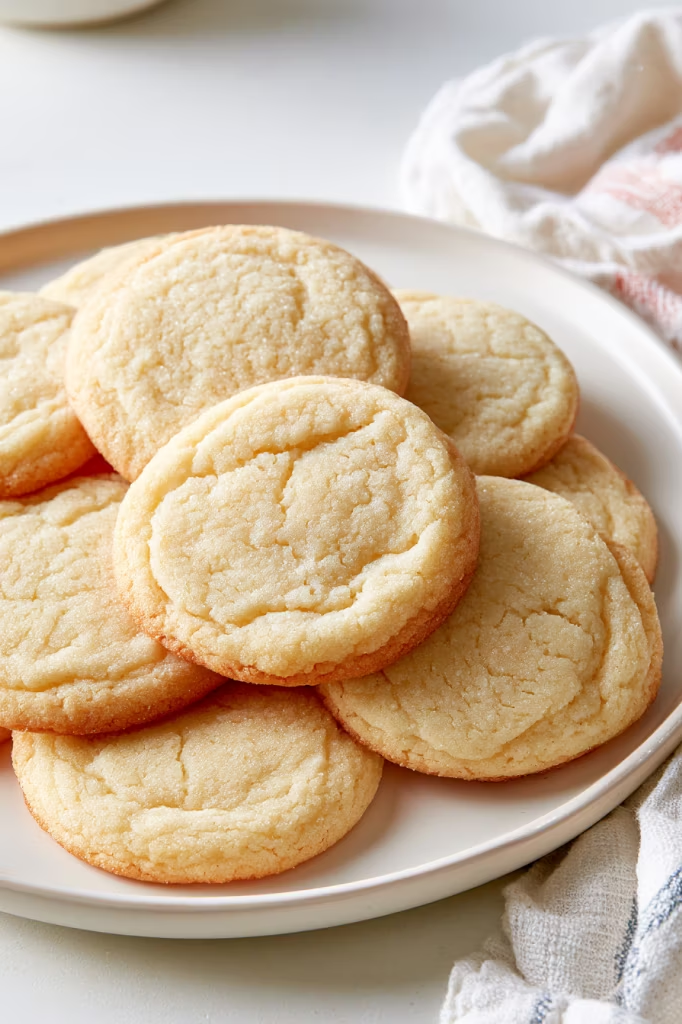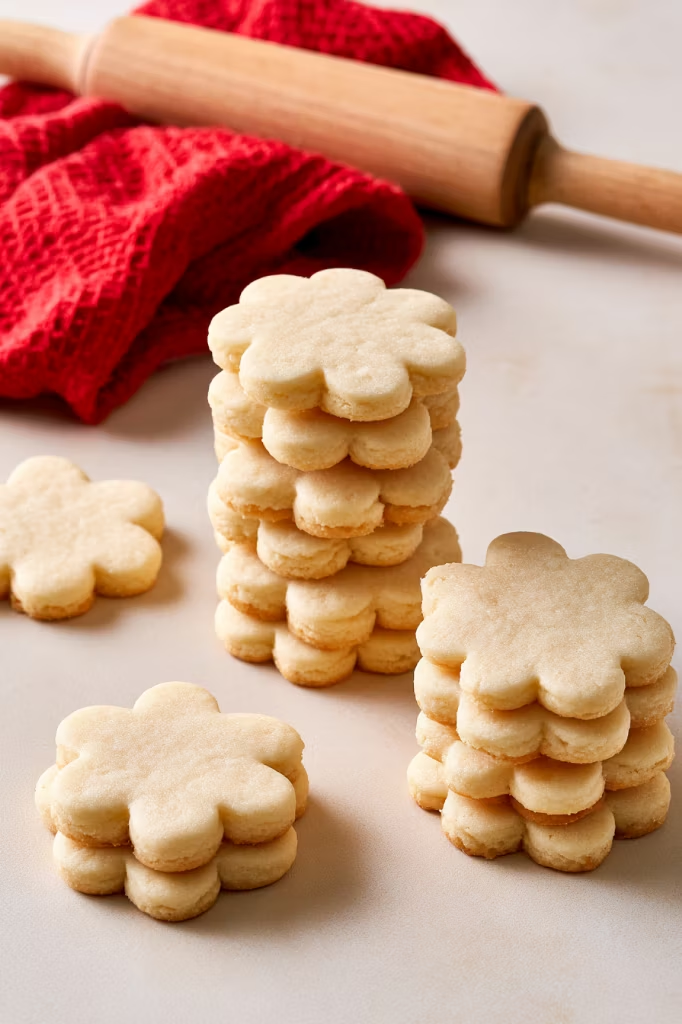

Soft and chewy in the middle with lightly crisp edges, these cut-out sugar cookies are the kind of classic recipe you’ll want to come back to whenever there’s something to celebrate.
There’s something especially fun about making cut-out sugar cookies. You roll out the dough, scatter a little flour across the counter, pull out your favorite cookie cutters, and before long, the baking sheets are filled with stars, hearts, flowers, or whatever shapes the occasion calls for.
But as cute as cut-out cookies can be, I still want them to taste really good. These do. They’re buttery and chewy with a delicate crispness around the edges, and a little almond extract gives the vanilla flavor extra depth. Even better, the chilled dough holds its shape beautifully in the oven.
Decorate them with frosting, add colored sugar before baking, or leave them completely plain. They’re delicious every way.
Why You’ll Love This Recipe
These cookies have quickly become the kind of recipe I’d make for just about any celebration. The dough is simple, the ingredients are familiar, and you can completely change the look of the cookies just by reaching for a different cookie cutter.
But my favorite thing about them is the texture. A lot of cut-out cookies are made primarily with decorating in mind, but these are cookies you’ll actually want to eat. The centers stay dense and chewy while the edges develop just a little crispness.
And because the dough needs to chill, it’s a nice recipe to prepare ahead. Mix it in the evening, tuck it into the refrigerator, and you can have it ready for rolling and baking the next day.
Sugar Cookie Ingredients
You only need 7 simple ingredients to make these buttery cut-out sugar cookies:
- Unsalted Butter – Use butter at room temperature so it blends smoothly with the sugar and creates a rich, buttery cookie.
- Granulated Sugar – Gives the cookies their classic sweetness and helps create those lightly crisp edges.
- Egg – A room-temperature egg helps bind the dough together and adds structure and chewiness.
- Vanilla Extract – The main flavoring in these cookies, giving them that familiar sweet vanilla flavor.
- Almond Extract – Just a small amount adds extra depth and complements the vanilla without making the cookies taste strongly of almond.
- All-Purpose Flour – Provides the structure the dough needs for rolling and cutting while helping the cookies hold their shape as they bake.
- Salt – Balances the sweetness and brings out the buttery vanilla and almond flavors.
Let’s bake!
Step-by-Step Instructions
First, make the dough.
Fit a stand mixer with the paddle attachment. Add the butter and sugar and beat for about 45 seconds, stopping once they are combined. Add the egg, vanilla extract, and almond extract, then beat for about 1 minute.
You’re not looking for super light and fluffy butter and sugar here. Keeping this first mixing step short helps give the finished cookies their dense, chewy texture.
Next, add the dry ingredients and chill.
Scrape down the sides of the mixing bowl. Add the flour and salt and mix until everything is combined and there are no visible streaks of flour.
Shape the dough into a flat oval disk, wrap it in plastic wrap, and refrigerate for at least 1 hour or overnight.
The waiting is worth it! Chilling makes the dough much easier to roll and helps those carefully cut shapes stay defined once they hit the oven.
Now, roll and cut.
Preheat the oven to 350°F. Line 2 baking sheets with parchment paper.
Lightly flour your work surface and use a rolling pin to roll the chilled dough to 1/4 inch thickness. Cut the dough into your desired shapes and carefully move the cookies onto the prepared baking sheets.
If you want to decorate the cookies with colored sugar, this is the time to sprinkle it on.
Finally, bake.
Bake for 8 to 12 minutes, depending on cookie size, until the edges are just beginning to turn golden brown. Mini cookies generally need about 8 minutes, medium cookies about 10 minutes, and larger cookies about 12 minutes.
Let the cookies cool completely before transferring them to a wire rack. Once fully cooled, frost them if desired or serve them plain.
Expert Tips
The biggest secret to beautiful cut-out cookies is cold dough. Don’t skip the hour in the refrigerator. It firms up the dough so it’s easier to handle and helps prevent the cookies from spreading too much as they bake.
If you chill the dough overnight, it may be a little too firm to roll straight from the refrigerator. Set it on the counter for about 30 minutes first, and it should become much easier to work with.
Flour is your friend when you’re rolling, too. Use a generously floured surface so the dough doesn’t stick, or roll it on a piece of plastic wrap. If your cookie cutter starts grabbing the dough, dip the cutter into flour before making the next shape.
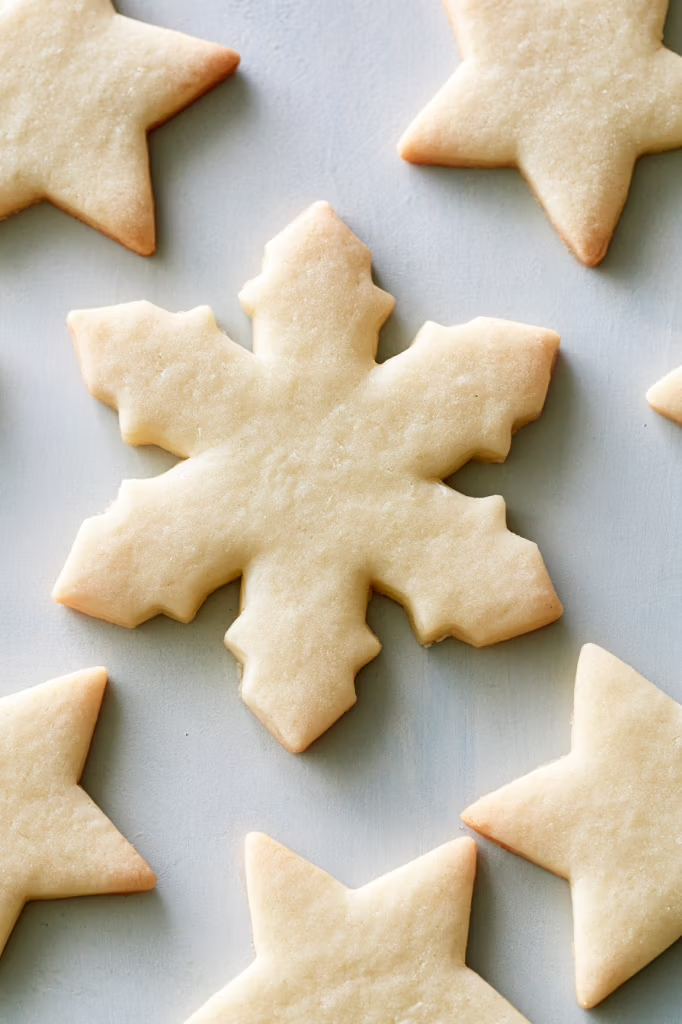
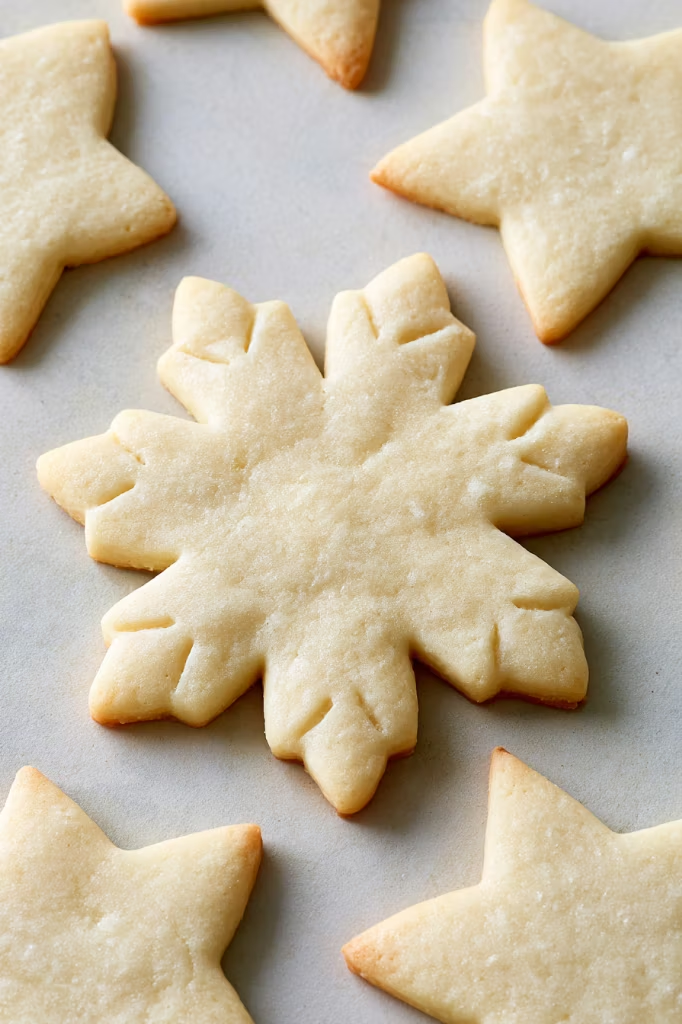
Making tiny snowflakes, detailed flowers, or another intricate design? Place the cookie sheet in the freezer for 20 minutes before baking. That extra chill can help all those little details stay in place.
And when it comes to baking, keep an eye on the edges. You want them to be just golden brown. That’s the sweet spot for lightly crisp edges without losing the chewy middle.
Recipe Variations
One of my favorite things about this recipe is that you don’t need to change the dough to make completely different cookies.
For the easiest version, sprinkle the cut cookies with colored sugar before baking. They come out of the oven already decorated, which is perfect when you want something festive without making frosting.
For special occasions, let the cookies cool completely and decorate them with your favorite frosting or icing. Hearts are lovely for Valentine’s Day, flowers are fun for spring, and stars or trees make an easy holiday cookie.
You can also play with size. Mini cookies are perfect for cookie trays and parties, while big cut-outs give you plenty of room for decorating. Just remember to follow the recipe’s baking range—about 8 minutes for mini cookies, 10 minutes for medium cookies, and 12 minutes for larger ones.
Storage & Reheating
These cookies are great for making ahead, especially when you’re planning a party or a day of decorating.
Once they’ve cooled completely, place the cookies in an airtight container and keep them at room temperature for several days. If they’re decorated, make sure the frosting or icing has fully set before stacking them.
You can also get a head start by making the dough the night before. Wrap the disk well and refrigerate it overnight, then leave it on the counter for about 30 minutes before rolling.
There’s no need to reheat these cookies. They’re at their best served at room temperature, when you can really enjoy that chewy center and lightly crisp edge.
Serving Suggestions
I love these cookies exactly as they are, especially when they’re still simple enough that you can taste the buttery vanilla-almond flavor.
For an afternoon treat, set them out with cold milk, coffee, tea, or a mug of hot chocolate. If you’re making them for a holiday or celebration, pile the decorated cookies onto a big platter and let all the different shapes and colors become part of the table.
They’re also perfect for a cookie-decorating afternoon. Bake and cool the cookies ahead of time, set out frosting and decorations, and let everyone make their own.
Or skip the decorating altogether and enjoy one straight from the cookie tin. Sometimes the simplest version is the best one.
Recipe FAQs
1. Why do I need to chill the sugar cookie dough?
Chilling the dough helps keep the cookies from spreading and makes it much easier to roll and cut. Refrigerate the dough for at least 1 hour or overnight. If you chill it overnight, let it sit on the counter for about 30 minutes before rolling.
2. How thick should I roll the cookie dough?
Roll the dough to about 1/4 inch thick. This gives the cookies enough thickness for a chewy center while still allowing the edges to get lightly crisp. Try to keep the dough an even thickness so all of the cookies bake at the same rate.
3. How do I know when the sugar cookies are done?
The edges should be just starting to turn golden brown. Mini cookies usually take about 8 minutes, medium cookies about 10 minutes, and larger cookies about 12 minutes. Keep a close eye on them toward the end since you don’t want to overbake them and lose that chewy center.
4. Why are my cut-out sugar cookies spreading?
This usually happens when the dough gets too warm. Make sure you chill it for at least an hour before rolling. If you’re making intricate shapes, you can also pop the baking sheet in the freezer for 20 minutes before baking. This will help the cookies hold their shape better.
5. Can I make the sugar cookie dough ahead of time?
Yes, you can definitely make the dough ahead! Simply shape it into a flat disk, wrap it in plastic wrap and refrigerate overnight. When you’re ready to bake, set the dough on the counter for about 30 minutes to soften slightly, then roll, cut and bake as directed.


Classic Cut-Out Sugar Cookies Recipe
Ingredients
- 1/2 cup unsalted butter, at room temperature
- 1 cup granulated sugar
- 1 large egg, at room temperature
- 1 1/2 vanilla extract
- 1/4 tsp almond extract
- 1 3/4 cup all-purpose flour
- 1/2 tsp salt
Instructions
- Fit a stand mixer with the paddle attachment. Add the butter and sugar and beat for about 45 seconds, stopping once they are combined. Add the egg, vanilla extract, and almond extract, then beat for about 1 minute.
- Scrape down the sides of the mixing bowl. Add the flour and salt and mix until everything is combined and there are no visible streaks of flour. Shape the dough into a flat oval disk, wrap it in plastic wrap, and refrigerate for at least 1 hour or overnight.
- Preheat the oven to 350°F. Line 2 baking sheets with parchment paper.
- Lightly flour your work surface and use a rolling pin to roll the chilled dough to 1/4 inch thickness. Cut the dough into your desired shapes and carefully move the cookies onto the prepared baking sheets. If you are decorating with colored sugar, add it before baking.
- Bake for 8 to 12 minutes, depending on cookie size, until the edges are just beginning to turn golden brown. Mini cookies generally need about 8 minutes, medium cookies about 10 minutes, and larger cookies about 12 minutes.
- Let the cookies cool completely before transferring them to a wire rack. Once fully cooled, frost them if desired or serve them plain.
Notes
Recipe Notes
Nutrition
Calories: 122kcal | Carbohydrates: 18g | Protein: 1.5g | Fat: 4.9g | Saturated Fat: 3g | Unsaturated Fat: 2.9g | Sugar: 10.1g Nutrition information is per 1 cookie, based on the recipe card provided.